![]() Hot Articles
Hot Articles
![]() Topic
Topic

 My Account
 Logout
Successful Installation!

Step 1. Select a screen size
You can set full or a custom screen scaling, like 1920*1080, 854*480, 640*480, etc. With a cursor, you can select a recording area more convenient.
Step 2. Select the audio
Turn on or off the System Sound option, Microphone option. If you want to record all the voices, you can turn on two options at the same time.
Step 3. Start recording
Start the screen recording by clicking the REC button. Then you can edit the video with the basic functions. Finally, you can preview the recorded video by clicking the Stop button or save the recording by clicking the Save button.
Get Complet Guide Here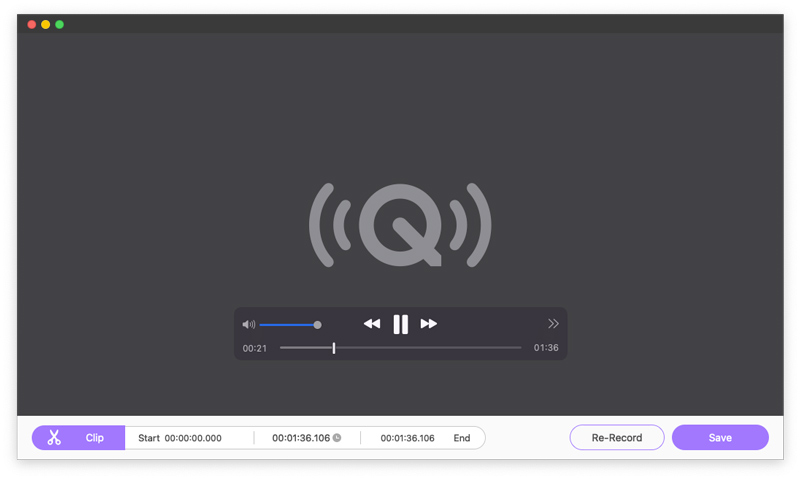
Step 1. Set the recording audio
Turn on or off the Microphone and System Sound to record your speaking voices or computer voices. You can adjust it according to your favorites.
Step 2. Start the audio recording
Click REC button to begin your audio recording. Then you can click the Stop button to listen the recorded audio.
Step 3. End the audio recording
If you want to edit the recorded audio, you can click the Advanced Trimmer button to adjust it. After the editing, remember to save the recording audio.
Get Complet Guide Here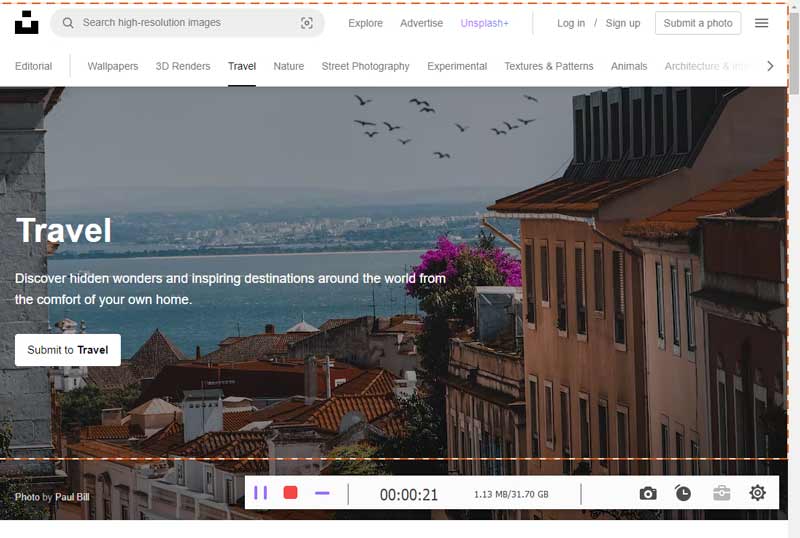
Step 1. Select the recording window
On the left panel, you can choose a window or process you want to record. Then, customize the recording area of the selected window by dragging the border in the preview area.
Step 2. Set the webcam and audio options
There are 3 options for you to record your window screen. Turn on or off the Webcam, System Sound and Microphone, you can adjust it as you like.
Step 3. Start the window recording
Click the REC button and then you set recording time and ways. In the recording process, you can draw or input text by clicking Edit icon. Finally, click on the Stop button to end and save you videos.
Get Complet Guide Here![]() Hot Articles
Hot Articles
![]() Topic
Topic