![]() Hot Articles
Hot Articles
![]() Topic
Topic

 My Account
 Logout
Successful Installation!
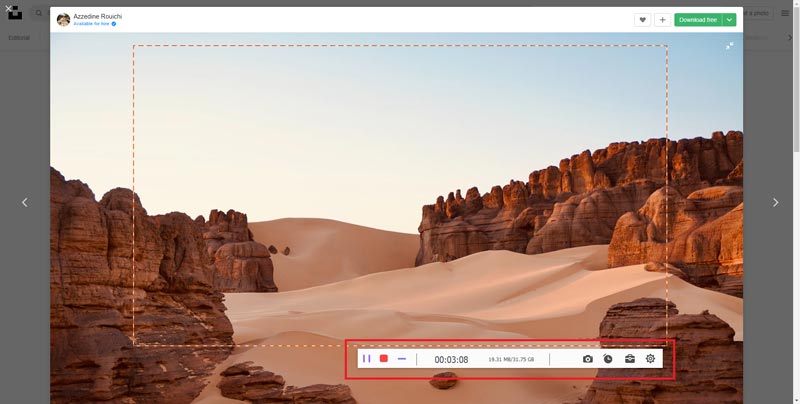
Step 1. Select a full or a custom screen
Select the screen scaling from 1920*1080, 1280*720, 854*480, 1024*768, 640*480. In addition, you can also draw a recording area with your cursor.
Step 2. Select the audio source
You can turn on or off the System Sound option, Microphone option, according to the recording needs.
Step 3. Start and end the video process
Click REC button to start the screen recording. Now you can add text, line, or arrow to the recording video by clicking the Edit icon. Then you can click the Stop button to preview the recorded video or click the Save button to save your video.
Get Complet Guide Here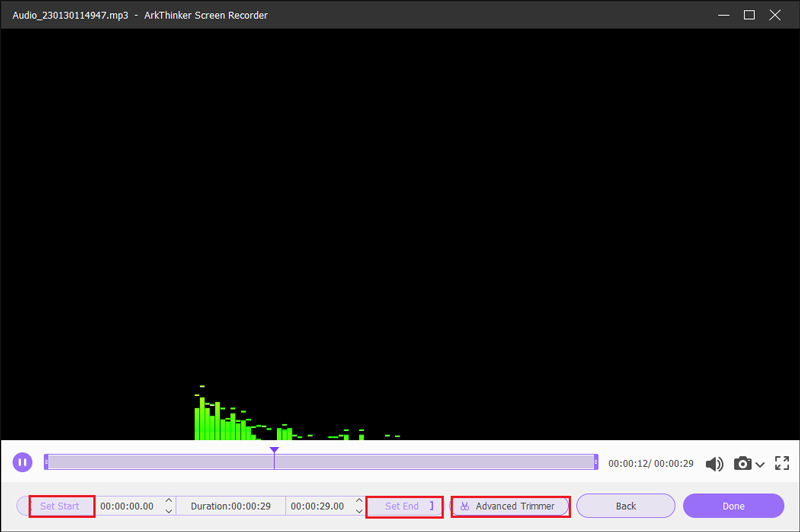
Step 1. Set recording audio from System Sound or Microphone
Turn on or off the Microphone or System Sound. Or you can enable both voices at the same time.
Step 2. Start the audio recording
Click REC button to begin your audio recording. Then you can click the Stop button to listen the recorded audio.
Step 3. Edit and end the audio recording
Click the Advanced Trimmer button to edit the recorded audio. Then remember to save the recording file.
Get Complet Guide Here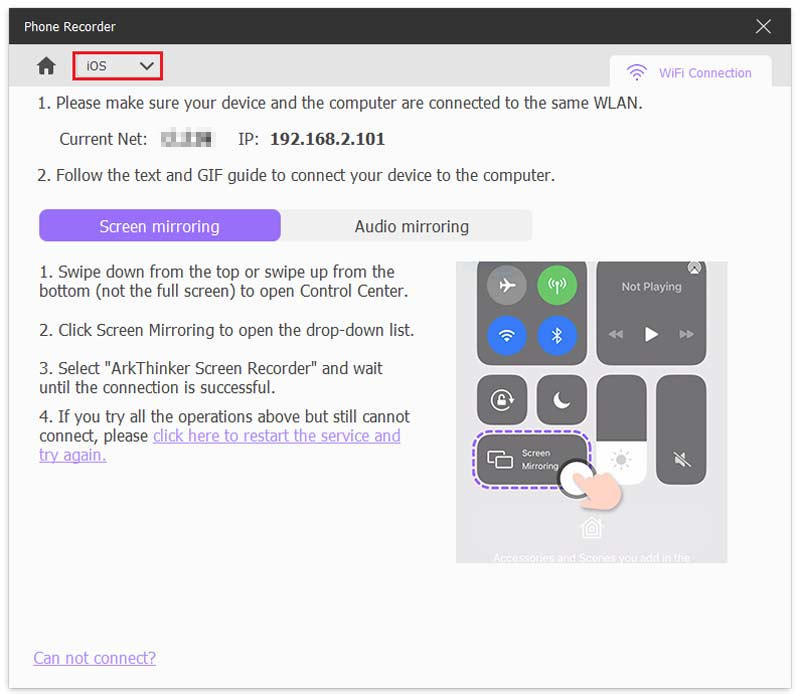
Step 1. Select the device type
In the main panel, choose iOS Recorder or Android Recorder according to your device.
Step 2. Connect your device
Firstly, mirror your phone screen through Wi-Fi or USB Connection. Then you can select from 2 Wi-Fi connection modes and pick one from PIN Code and QR Code.
For iPhone users, you need to mirror the phone screen to the computer first. Then make sure your iPhone and computer has connected to the same WLAN.
Step 3. Record phone screen
After the connection, you can view the phone screen on your computer. Now you can start your phone recording.
Step 4. End the phone recording
You can preview and edit the recorded video after the recording. Click Export if you are satisfied with the recording.
Get Complet Guide Here![]() Hot Articles
Hot Articles
![]() Topic
Topic