


How to Compress PNG to Shrink Your Images Without Losing Quality
If you've ever tried to upload a PNG image to your website, social media, or even as part of an email, you may have run into the frustrating issue of large file sizes. PNG files are great for their high quality, but they can also be huge and slow down your website or prevent smooth uploads. So, how do you reduce the size of a PNG image without compromising on quality? In this article, we’ll share the best 3 ways to compress PNG files using online tools, Photoshop, and even WordPress plugins. Get ready to learn how to compress PNG files like a pro!

- GUIDE LIST
- Part 1. What is PNG Compression
- Part 2. How Do I Reduce the Size of a PNG in 3 Methods
- Part 3. FAQs
Part 1. What is PNG Compression
Before diving into the "how" of compressing PNG images, let’s first understand what PNG compression actually means.
PNG, which stands for Portable Network Graphics, is a widely used image format known for its lossless compression. This means that the image’s quality doesn’t decrease when compressed, unlike other formats like JPEG, which may lose some of their detail during compression. However, even with PNG’s lossless compression, these images can still be large in file size. This is where PNG compression comes in - it reduces the file size of your images while maintaining high quality.
When it comes to websites, page loading speed is critical.
Note: If you only want to free up space without transparency requirements, converting PNG to JPG is also the solution.
The faster your site loads, the better the user experience, and the higher your ranking on search engines like Google. Large PNG files can significantly slow down your website, leading to longer loading times and potential user frustration. By compressing your PNG files, you can maintain image quality while significantly improving your website’s performance. This is especially important for mobile users, who may have slower internet speeds.
Reducing PNG file size also helps with saving storage space, making it easier to store and manage images on your website or cloud storage.
Part 2. How Do I Reduce the Size of a PNG in 3 Methods
Now, let’s look at the best ways to reduce PNG file size. Whether you’re a beginner or an experienced designer, there are tools that fit every level of expertise.
Compress PNG With ArkThinker Image Compressor Online
Best for: Quick, free, no-download compression.
If you want to quickly compress PNG files without the need for fancy software, ArkThinker Image Compressor Online is an excellent choice. This tool is perfect for people who want to compress PNG files for free and with no technical knowledge required.
Features:
• Free and easy to use.
• No sign-up required.
• Supports batch processing (compress multiple images at once).
• Allows you to control the compression level (retain high quality or sacrifice a bit for a smaller file size).
Steps to compress PNG in ArkThinker Image Compressor Online:
Add images to ArkThinker Image Compressor Online :
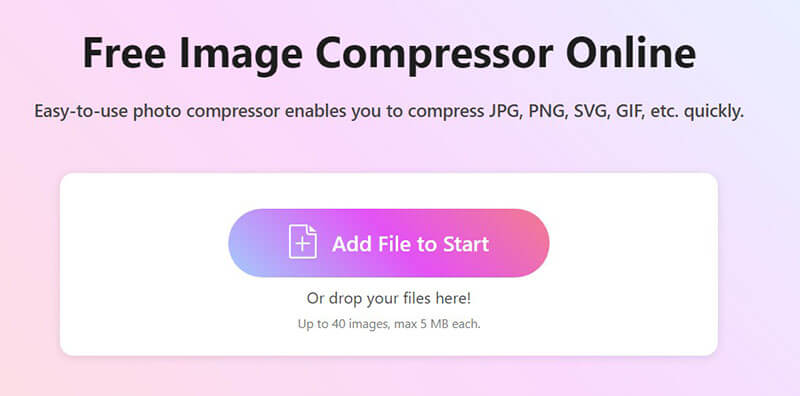
Pop open your browser on desktop or mobile, and head to ArkThinker Image Compressor Online. Click the "Add Files to Start" button to upload your PNG image files. Or drag and drop your PNG files right into the upload zone.
You can batch up to 40 images at once, as long as each one’s under 5MB. Perfect for cleaning up a photo folder in one go.
Compress PNG images online
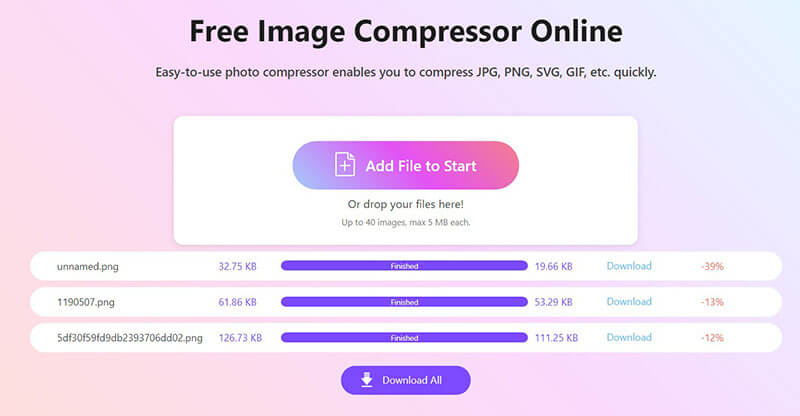
No need to click anything else. As soon as your images are in, this free tool gets to work behind the scenes, shrinking file sizes without compromising quality.
Download your compressed PNG files
Once compression wraps up, you’ve got options:
• Download each image individually if you want to pick and choose
• Or hit "Download All" to grab everything in one neat ZIP file
Limitations: While ArkThinker is great for quick compressions, it might not always offer the same high-level control over file quality as more professional tools.
Compress PNG with Adobe Photoshop
Best for: Creative professionals and students with Adobe access.
For those who are more familiar with design software, Adobe Photoshop provides a more detailed approach to compressing PNG files. Photoshop allows you to adjust not only the file size but also the image quality, resolution, and other important aspects.
Steps to Compress PNG in Photoshop:
Open PNG image in Photoshop
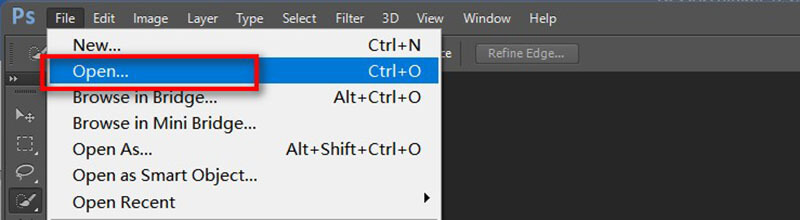
Start by launching Adobe Photoshop. Head to File > Open, then select the image you’d like to compress. Click Open, and you’re ready to go.
(Optional but powerful) Resize PNG to reduce file size
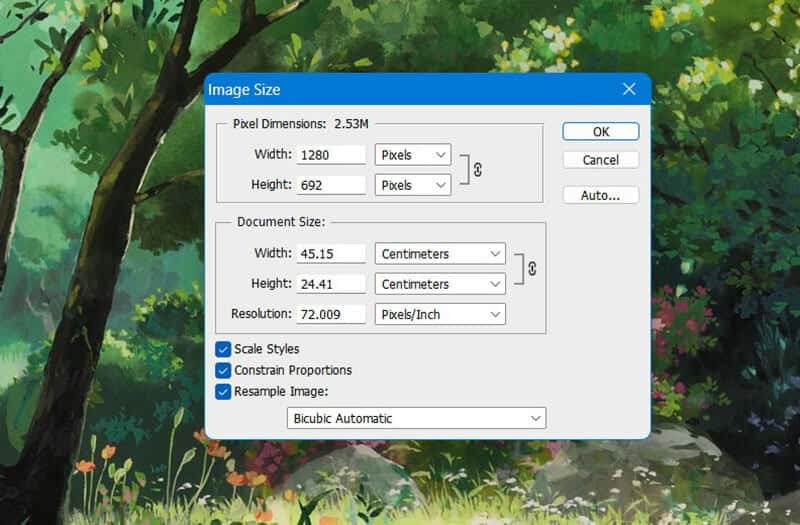
Want to shrink your image even further? Resizing can make a big difference. Go to Image > Image Size and in the pop-up window:
• Adjust the Width and Height in pixels
• Make sure Resample is checked to preserve quality
• Choose a method like Bicubic Sharper for best results when downsizing Click OK to apply the changes.
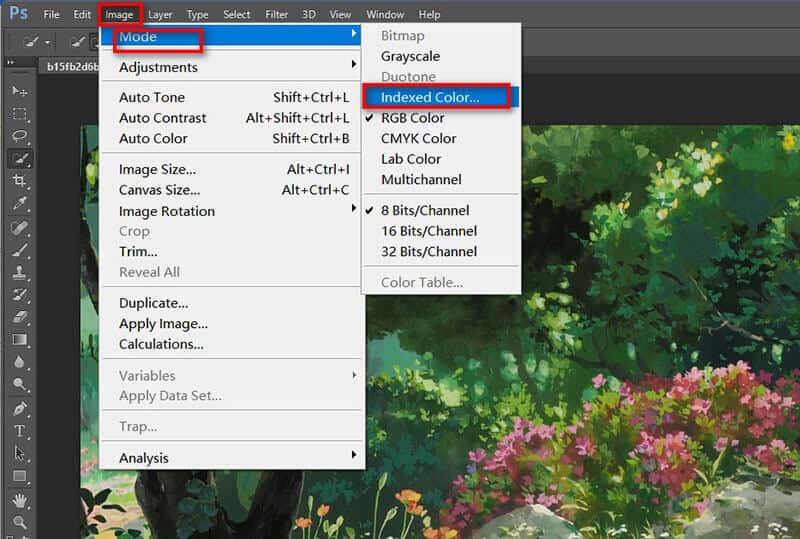
Adjust Image Quality (Optional)
Go to Image > Mode and switch from RGB Color to Indexed Color. This reduces the number of colors, which can shrink file size.
Choose Local (Selective) or Adaptive palette with fewer colors (e.g., 128 or 64).
Then you can preview the result to ensure it still looks good.
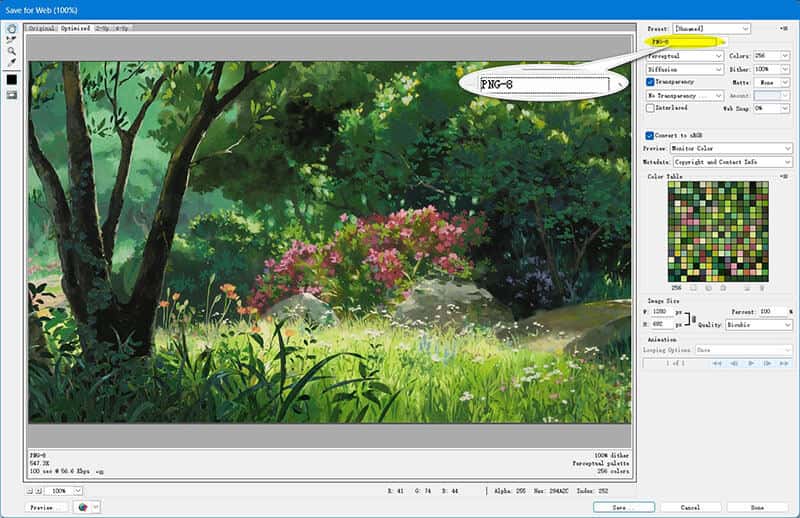
Compress and export PNG image
Here’s the way of compressing PNG without changing its dimensions. You’ve got two great options:
Go to File > Export > Save for Web (Legacy)
In the dialog box:
• Pick a format: PNG-8, instead of PNG-24 (if transparency isn’t needed).
• Adjust the color count and dithering to balance quality and size.
• Check the image preview and file size at the bottom left.
Finally, click Save, choose your location and filename, and you’re done!
Limitations: Photoshop isn’t free (though you can get a trial), and it may be overkill for simple compression tasks.
Compress PNG with WordPress Image Optimization Plugin
Best for: Bloggers and site owners using WordPress
If you want to reduce image file size before you upload your PNG to websites, the above image compressor tools are suitable for you, However, if you’re working on a WordPress site, there are great plugins available that automatically compress PNG images as you upload them, saving you time and effort.
Steps to use a WordPress plugin:
Install the plugin
Log into your WordPress dashboard. Go to Plugins > Add New. Search for "TinyPNG - JPEG, PNG & WebP image compression". Click Install Now, then Activate.
Or you can download it directly from WordPress.org.
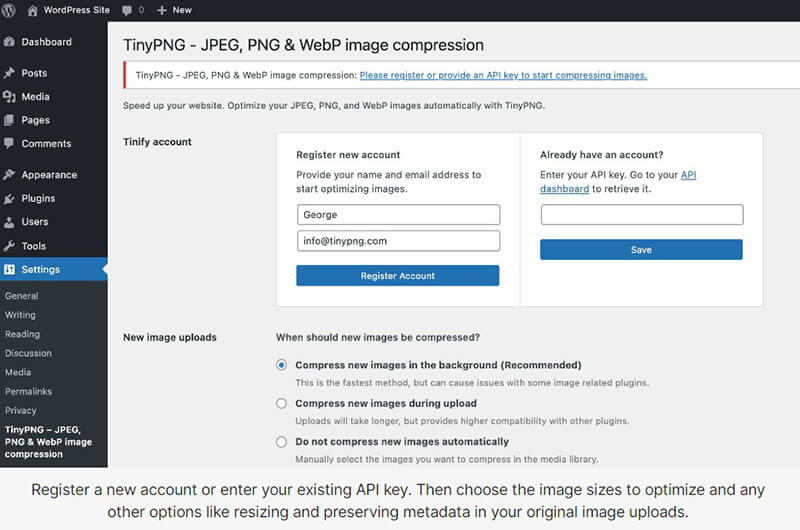
Set up your API key
After activation, go to Settings > TinyPNG. You’ll be prompted to enter an API key:
Visit TinyPNG Developer Portal to create a free account. Copy your API key and paste it into the plugin settings. Save your settings to apply that.
Tip: Free accounts allow ~100 image compressions/month. You can upgrade for more.
Automatically compress new PNG uploads
Once the plugin is active, every new PNG you upload to the Media Library will be automatically optimized.
You can also set maximum image dimensions to resize large uploads.
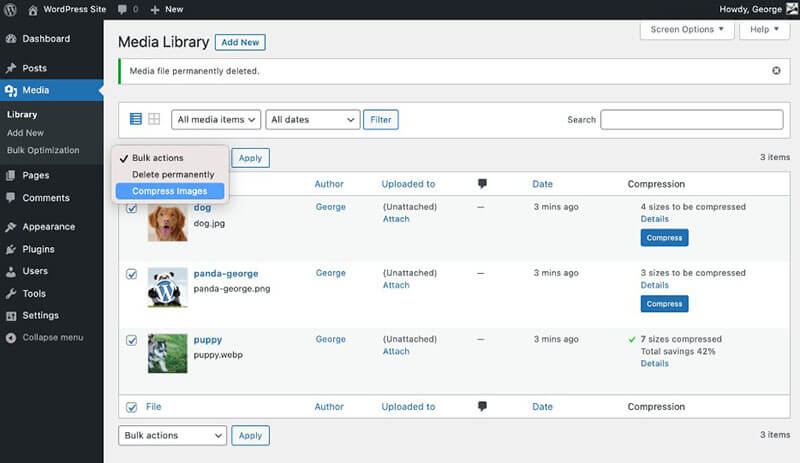
Bulk optimize existing PNGs
Go to Media > Bulk Optimization. Click the Start Bulk Optimizationbutton. The plugin will scan your media library and compress all unoptimized PNGs (and JPEGs/WebPs too).
You’ll see progress indicators and total file size savings.
Customize optimization settings (Optional)
In Settings > TinyPNG, you can:
• Choose which thumbnail sizes to compress.
• Preserve or remove EXIF data (like camera info).
• Enable WebP conversion for faster loading.
• Schedule automatic optimization for future uploads.
Monitor your savings
A dashboard widget shows:
• Total images optimized
• Space saved
• API usage stats
Limitations: Some plugins have limitations on how many images can be compressed per month unless you upgrade to a paid version.
Part 3. FAQs
How can I compress PNG to 5MB?
You can use tools like ArkThinker or Photoshop to control the level of compression. When using ArkThinker, select the compression level to balance file size and quality. In Photoshop, reducing the image resolution and using 8-bit PNG can help you reach the desired size.
How do I reduce PNG file size without losing quality?
Using lossless compression tools like ArkThinker or Photoshop will allow you to reduce PNG file size while keeping the image quality intact. Avoid excessive compression, as this could result in some loss of detail.
Can I compress PNG on a Mac?
Yes! Most online tools like ArkThinker are accessible on any device, including Macs. Photoshop and other image editing software are also available for Mac users.
How do I compress PNG using Photoshop?
In Photoshop, you can compress PNG by using the "Export As" function, where you can adjust the compression level, reduce image resolution, and remove unnecessary data.
How do I compress PNG to 512KB?
To compress a PNG to a specific size like 512KB, you’ll need to experiment with reducing the resolution, adjusting compression settings, and sometimes even cropping the image if it's too large.
Conclusion
Compressing PNG images is a smart way to maintain website performance without compromising image quality. Whether you’re using an online tool like ArkThinker, a professional software like Photoshop, or a WordPress plugin, there are plenty of methods to help you reduce file sizes effectively. By reducing your PNG image file size, you can improve page load speeds, reduce storage requirements, and create a smoother user experience.
So, the next time you need to compress image PNG, try using ArkThinker for a quick, hassle-free solution. You'll be amazed at how simple it is to reduce PNG size without sacrificing quality!
What do you think of this post? Click to rate this post.
Excellent
Rating: 4.9 / 5 (based on 534 votes)