


How to Crop an Image: A Complete Guide for Every Device
When you’re tweaking a picture for social media, focusing on a specific part of an image, or removing unwanted elements, knowing how to cut part of an image can be a game-changer. I’ve found that cropping is one of those simple yet powerful tools that can make a huge difference to your photos and images. But with so many ways to do it, choosing the right method for your needs can be a bit confusing at first. Whether you're using built-in tools on your computer, editing online, or playing with software like Photoshop, there’s always a way to crop a photo that fits your style.
In this guide, we will show you how to crop an image using the built-in apps on your Mac or Windows PC, handy online tools, and even more advanced options like Photoshop and Illustrator.

- GUIDE LIST
- Part 1. How to Crop an Image Using Built-in Tools
- Part 2. How to Crop an Image Online
- Part 3. How to Crop an Image in Photoshop
- Part 4. How to Crop an Image on Mobile
- Part 5. FAQs
Part 1. How to Crop an Image Using Built-in Tools
If you’re not into downloading third-party apps or opening complex software like Photoshop, don’t worry! Good news is, whether you're working on a Mac or a Windows PC, you already have a great image cropper built right in. You can handle all those quick fixes without downloading a single extra thing—it’s fast, easy, and totally free! I use these built-in options regularly, and they get the job done quickly and efficiently.
How to Crop an Image on Mac (Using the Photos App)
On a Mac, cropping an image is straightforward and done entirely in the Photos app. I’ll be honest: it’s simple, but I love the flexibility it offers for quick edits.
Launch the Photos app, then give a quick double-click on the image you’d like to tweak.
Tap the Edit option up in the top-right to get started.
Select the Crop tool (it looks like a square with two intersecting arrows).
Drag the grid's corners to frame your desired area. You can also click Aspect to pick a ratio. You can also rotate the crop unwanted area by dragging the circular icon at the top.
Click Done to save the cropped image.
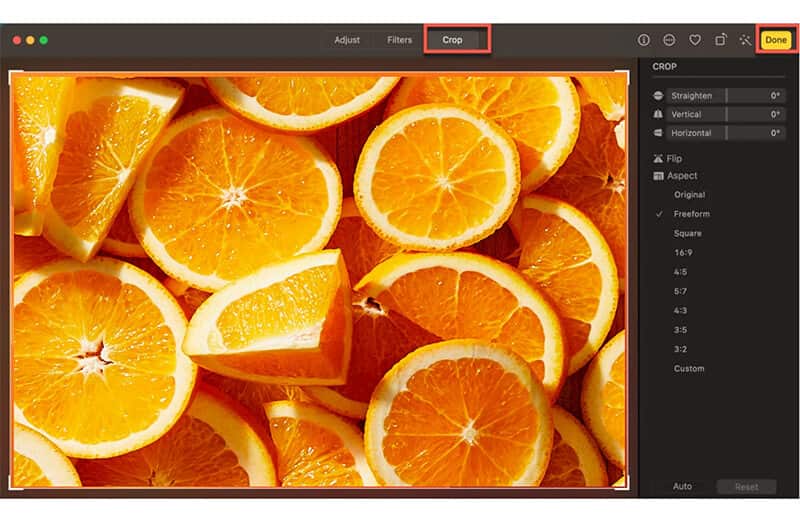
My personal experience: I love how the editing tools are right there after I double-click a photo. The Crop tool is a single click away, and I can choose preset aspect ratios (like 16:9 for videos or 1:1 for Instagram) or just drag the corners to manually frame my shot. It’s perfect for that moment when you need to quickly crop an image and send it off.
What I don’t like: If you want to make more advanced adjustments, like straightening a tilted image, you have to use additional tools.
How to Crop an Image on Windows (Using Photos App)
Windows offers an equally easy tool to crop your photos. The Photos app on Windows 10/11 is super intuitive for basic edits, and here’s how you can crop a picture:
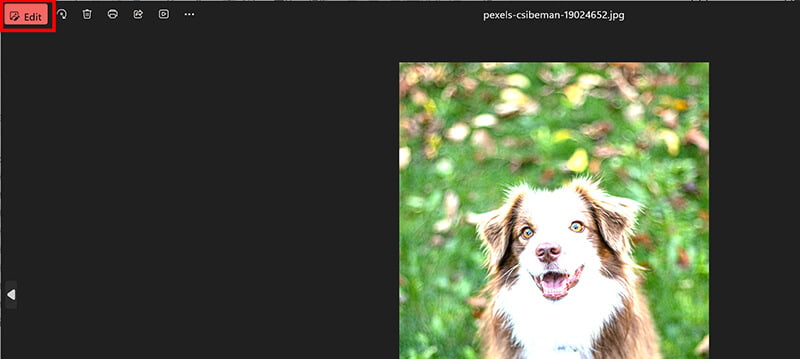
Right-click your image file and choose Open with > Photos.
Click the See more menu (three dots) and select Edit & Create, then Edit. (In newer versions, you might just see an Edit button or an icon that looks like a pencil).
Note: If you only want to resize an image on Windows without cropping, then you can also find the option under Edit to select Resize Image.
Find and select the Crop and rotate tool.
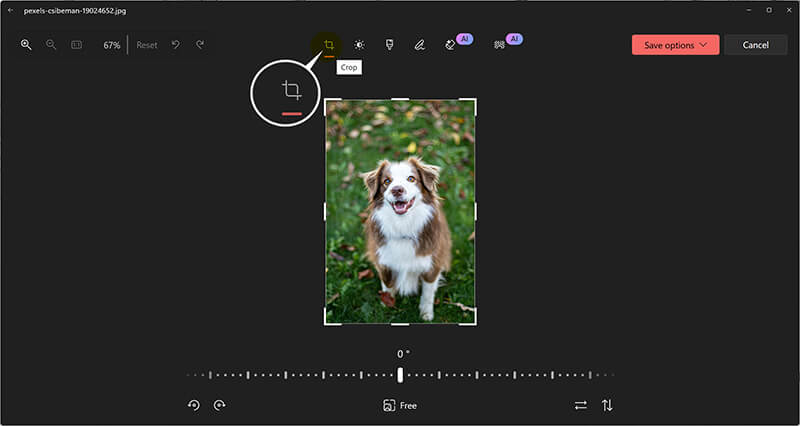
Use the resizing handles or choose a preset ratio from the sidebar.
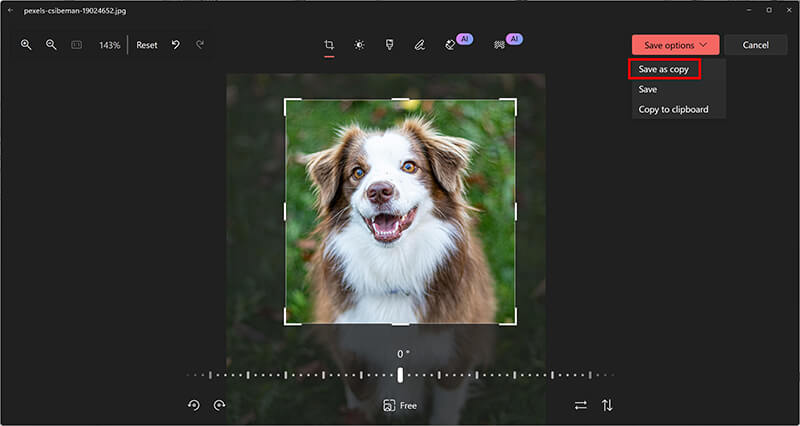
Click Save a copy (or just Save).
My personal experience: When I was working on a group presentation and had to use my friend’s PC, I was worried I'd have to download something. But the Windows Photos app was surprisingly powerful. It loaded quickly, and the crop interface was clean and easy to use. I was able to quickly adjust and save the images we needed for our slides.
What I don’t like: It doesn’t offer advanced features, such as easily adjusting aspect ratios or rotating the crop area.
Part 2. How to Crop an Image Online
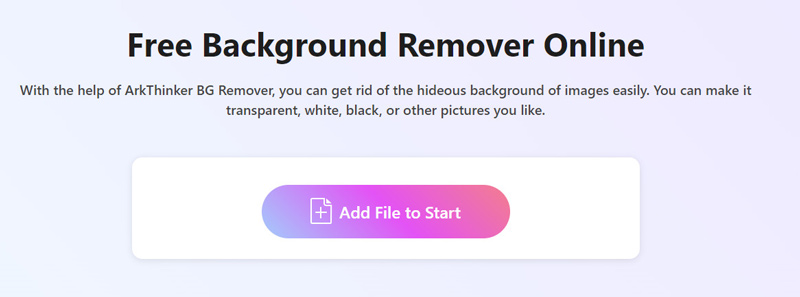
Sometimes, you just don’t want to open software on your computer. For those moments, using an online image cropper can be super handy. One tool I often use for cropping images online is ArkThinker Free Background Remover. It’s an easy-to-use platform that offers not just background removal but also image cropping, which is great for quick edits. It is fast, and you can access this free image cropper from literally anywhere with an internet connection.
Go to ArkThinker Free Background Remover on your browser on your computer or mobile phone.
Click the Add File to Start button and select your image file.
Once the image is uploaded, this tool will automatically remove the photo's background. Here, if you only want to crop an image without background removal, just use the Keep tool, adjust the brush size, and paint the whole image to restore the background.
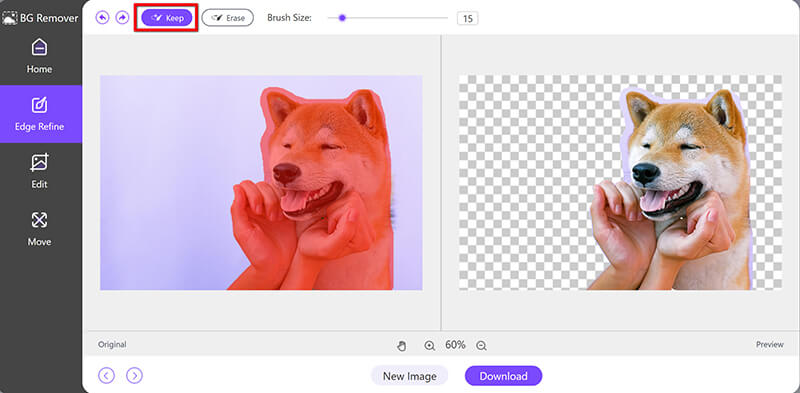
Once the full image has loaded, open the Edit tab and select Crop.From here, just drag the cropping box to frame the part of the image you want to keep. Additionally, you can select a cropping ratio of 1 to 4 inches. To crop the image to a square, select the 1:1 ratio.

Once the image is done, click the Download button to save your final image.
My personal experience: I used a tool very similar to this to quickly produce a product image perfectly centered for a digital media class project. I was working on my tablet and didn't have access to Photoshop. Being able to just drag and drop the file, crop the image online, and download the result in seconds was a lifesaver.
What I don’t like: Cropping works fine for basic edits, but if you're looking to fine-tune things like aspect ratios or rotate your image just right, the built-in tools might feel a little restrictive.
Part 3. How to Crop an Image in Photoshop
For those who want more control over the cropping process, Photoshop is the go-to tool. It’s packed with options for resizing, rotating, and perfecting your cropped image, making it ideal for professional work.
Open your image in Photoshop.
Select the Crop Tool from the toolbar (it’s usually the fifth tool down; shortcut: C).
A cropping frame will appear around your image. You can define specific measurements in the top options bar (like W x H x Resolution).
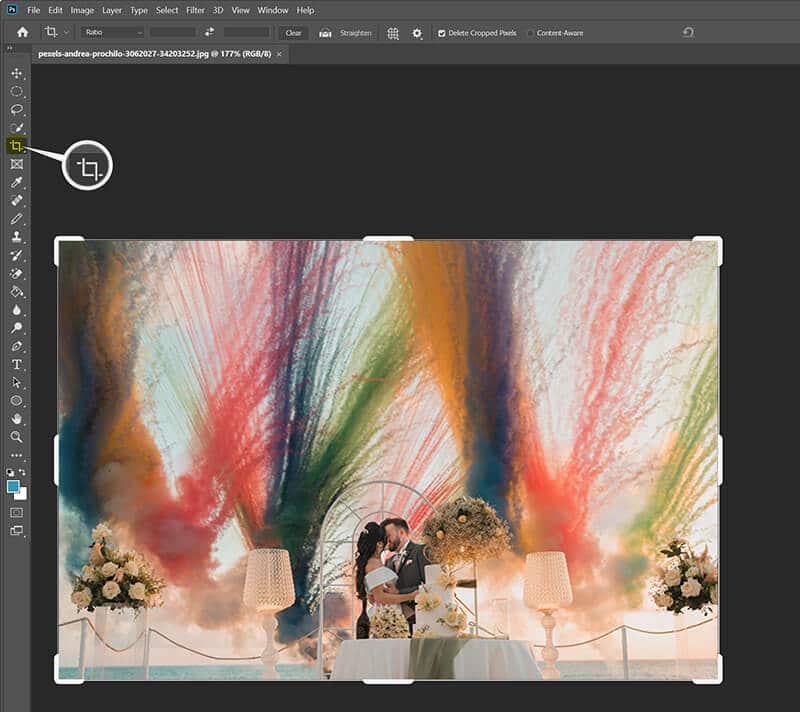
Drag the corners and edges to define your new boundaries.
When you're happy, hit Enter (or the checkmark icon in the options bar).
Finally, click File > Export As to save the cropped image.
After cropping this image, you may find it a little blurry if the resolution is low. But no worries, and you can also use Photoshop to improve your image quality with its other features.
My personal experience: Learning how to crop an image in Photoshop felt like a huge leap. I mostly use it when I need to crop multiple layers at once or when I have a very specific pixel dimension required for a client or contest submission. The ability to use the Delete Cropped Pixels setting is also huge because it keeps my file size manageable.
What I don’t like: It’s a bit overwhelming if you're just trying to do a simple crop. It’s overkill for basic edits.
Part 4. How to Crop an Image on Mobile
Let’s face it, and sometimes we want to crop images on the go, and our mobile devices are perfect for quick edits.
How to Crop an Image on iPhone
The iPhone’s Photos app makes cropping super easy. Here’s how you can crop a picture in just a few steps:
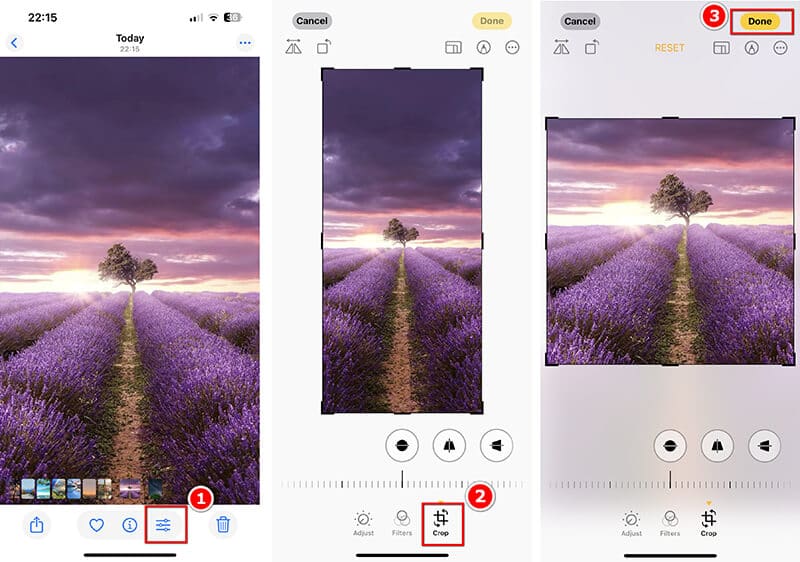
Start by launching the Photos app, then pick the picture you’d like to crop from your collection.
Tap Edit to open the editing tools.
Tap the Crop Icon: This looks like a square with two arrows.
Adjust the Crop Box: Drag the corners to select the area you want to keep.
Tap Done to save your crop photo.
My personal experience: I’ve probably cropped thousands of pictures on my iPhone. It's just so easy. You tap, you drag, you save. I also love that it automatically suggests common aspect ratios that align with what I’m doing, making it super fast to crop an image.
What I don’t like: Not as much flexibility as desktop options for advanced editing.
How to Crop an Image on Android
Most Android phones come with a Gallery app that offers basic image editing options. Here’s how to crop an image:
Open the Gallery app and choose the image to crop.
Tap Edit (pencil icon).
Tap the crop icon.
Resize and reposition the crop box as needed.
Tap Save to export your cropped image file.
My personal experience: Even though I mostly use an iPhone, when I work with my Android-using friends, I find the editing suite in Google Photos to be top-notch. It’s great that you can access it on any Android device and even a web browser for a quick crop pic online solution.
What I don’t like: Limited features compared to desktop apps.
Part 5. FAQs
How can I crop a circle image?
Most cropping tools, like Photoshop or Illustrator, let you crop into any shape. Use the ellipse tool for a circle crop in Photoshop or Illustrator, and use an online circle cropper for an easy solution.
Can I crop an image without losing quality?
Yes! As long as you avoid resizing the image while cropping, the quality should stay intact. Just make sure not to stretch or distort it.
Will cropping reduce image quality?
Not usually, unless you crop too much and enlarge the image afterward.
What is the difference between cropping and resizing?
This is a great question! Cropping removes pixels from the edges of your photo—you are physically cutting part of the image out. Resizing changes the photo's overall dimensions (width and height), making the remaining pixels either larger or smaller without removing any content. Always crop the image first, then resize the result if necessary.
Can I crop circle image shapes?
Yes, you absolutely can crop images into circle shapes, but you usually won't find that option in the basic, built-in photo editors on your phone or computer. ArkThinker Free Background Remover can help you do that by selecting the ratio in 1: 1. Besides, Photoshop can also make it.
Conclusion
Cropping an image doesn’t have to be difficult. Whether you’re using built-in tools on your computer, editing online, or getting creative with Photoshop and Illustrator, there’s a cropping method that fits your needs. Always remember to save your cropped images in the best format for your project, and don’t forget to explore the various tools available on your mobile device for quick edits on the go!
What do you think of this post? Click to rate this post.
Excellent
Rating: 4.8 / 5 (based on 485 votes)