


Detailed Guide to Enhance Image Resolution in Photoshop and Its Alternatives
Boosting your photo involves blending techniques and procedures. First, we need to get a camera and ensure it is on the right focus and in the right lighting condition. But how will we do that if you are using budget-friendly gadgets? Of course, we are finding ways to improve picture quality more clearly than usual. We are using application tools like Adobe Photoshop to sharpen, lessen the noises, and brighten the image of our captured moments. For now, we have an idea to guide us on how to edit our pictures and make them look better in our daily lives, whether we are an expert in photography or not.

- GUIDE LIST
- Part 1. How to improve Low-Quality Images in Photoshop
- Part 2. Alternative Ways to Improve Picture Quality without Photoshop
- Part 3. FAQs about Improving Photo Quality
Part 1. How to improve Low-Quality Images in Photoshop
Imagine your favorite picture a little bit hazy and pixelated. Adobe Photoshop is one of the professional tools that can assist you boost your photo quality. Of course, none of us wants to have blurry photos in a special moment, right? Adobe Photoshop stands as a virtual canvas, empowering users to reconstruct their ideas into visually stunning masterpieces. You can open and edit the most common image file formats in Photoshop. It supports JPEG, TIFF, PNG, and GIF. There are some ways how to improve low-quality images in Photoshop to edit pictures, like erasing blemishes on your face, enhancing the resolution of the photo, and many more! As the gold standard in graphic design and photo editing, Photoshop improves image quality. It has been empowering editors for years, offering an expansive set of tools and features that cater to every aspect of visual expression.
- Intuitive user interface.
- Advanced image editing tools.
- Artistic brushes and filters.
- Revolutionary AI features.
- Seamless integration with creative cloud.
- Heavy on resources.
- Overkill for simple edits.
Since you have an idea of what Photoshop is for, just follow the methods and steps on how to enhance a photo to improve picture quality.
Method 1. Adjusting Color and Clarity in Photoshop
Launch Photoshop and select the photo you want to work on.
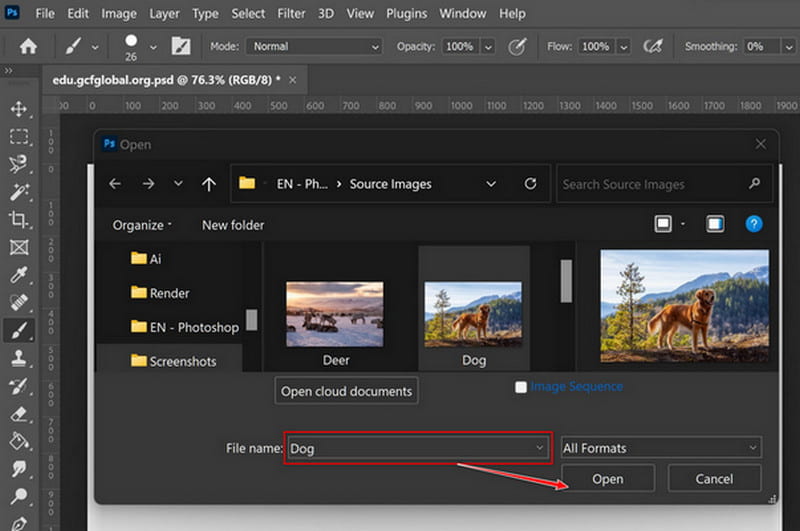
By adding your picture, you are ready to set the goal of how to improve quality of a photo in just a few clicks away.
After opening the photo, right-click and find the Adjustments. Click the options you want to improve and toggle the bar to adjust.
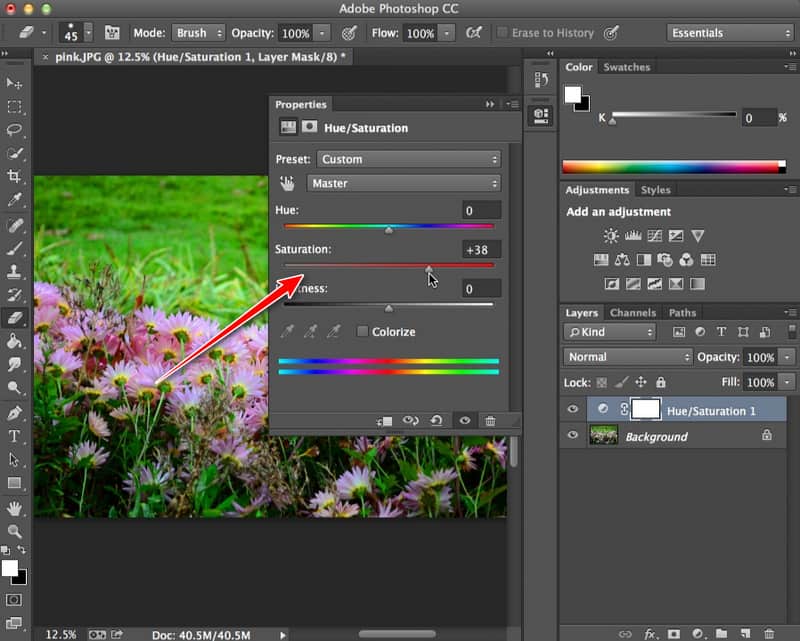
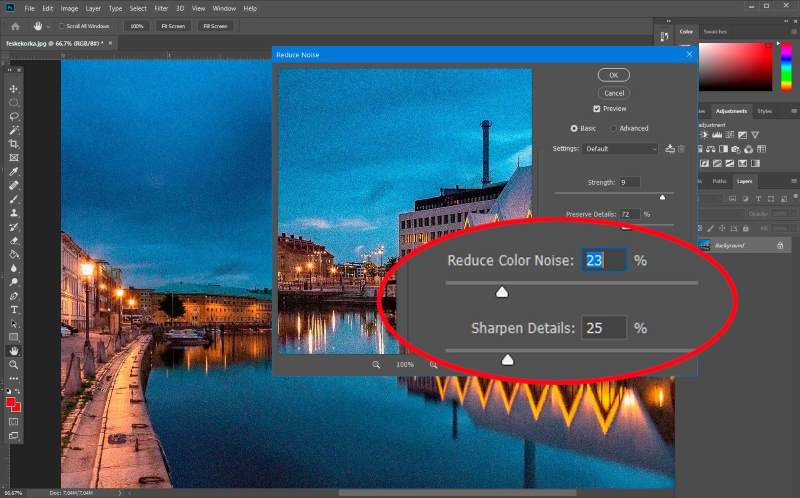
Click the Filter on the Menu Bar, select the Noise, and then you can now reduce the noise.
Method 2. Adjust Image Resolution
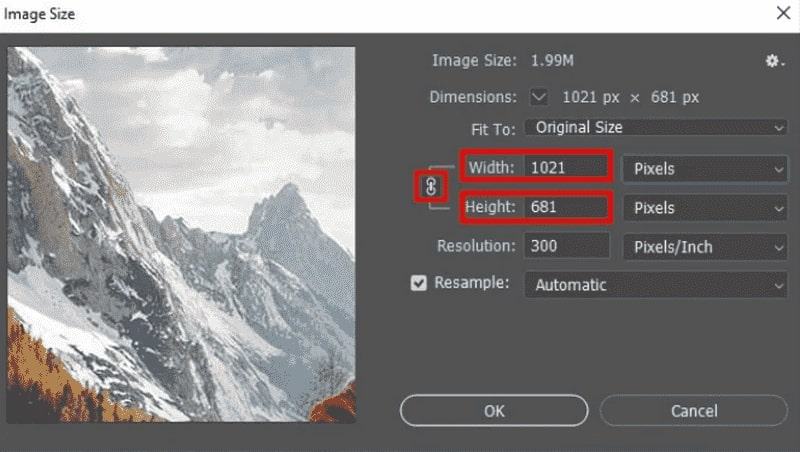
Launch the application and open the desired image. Select the Image on the the menu bar and select Image Size.
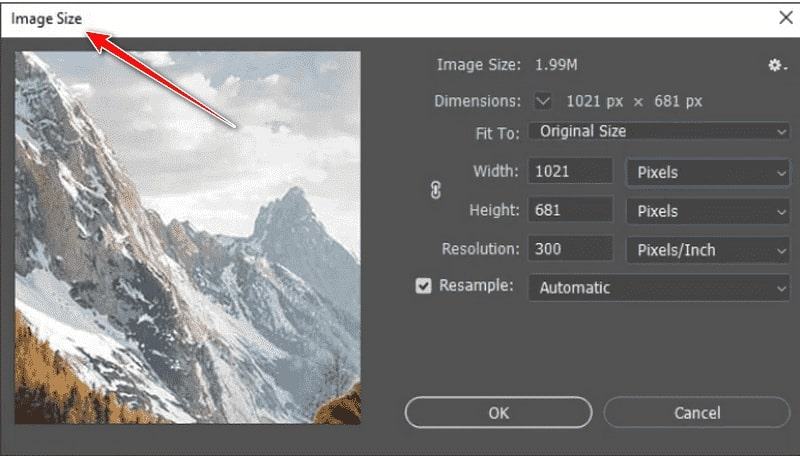
A new window will appear. Measure your image and input the desired proportion. You can click the Link button so that when you adjust the height, it will change the width automatically and vice versa.
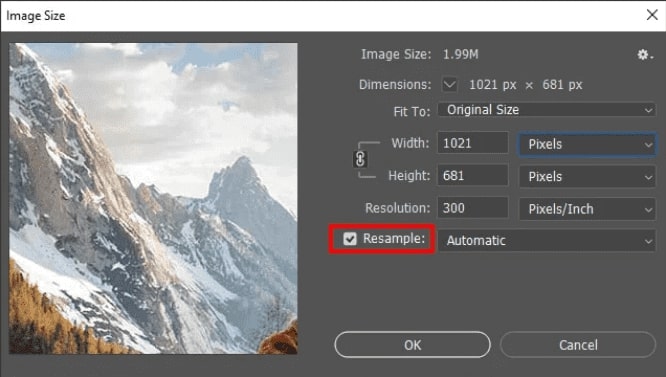
Choose the Resample; it will change your image pixels and change the image size. You can choose the Automatic option, but we recommend Bicubic Resizing Mode, which will give you the best result.
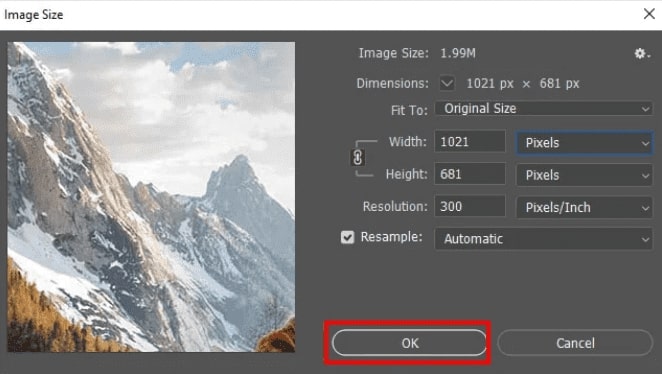
Select the OK button to save the setting. When you're happy with it, you can keep it. That’s it! These are a few things on how to improve photo quality by using the application.
Part 2. Alternative Ways to Improve Picture Quality without Photoshop
Option 1. Arkthinker Online Image Upscaler (Most pick)
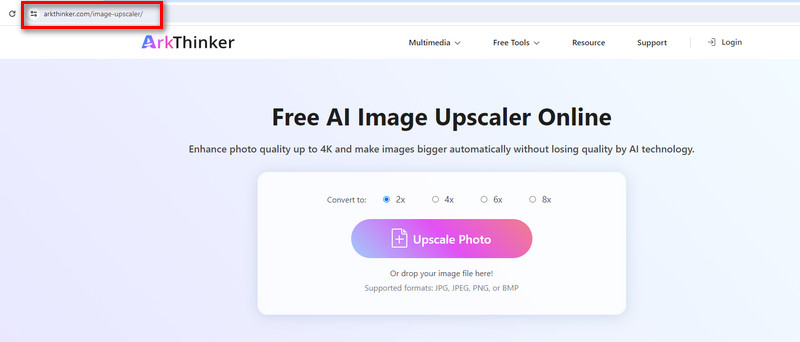
Arkthinker Online Image Upscaler is a leading-edge tool to improve image quality online that is free and intended to raise the quality of your images conveniently without Photoshop. It enhances image resolution while carefully saving the original details. Whether you have low-resolution photos and visuals, this online application can zoom in at 2x, 4x, 6x, and 8x for clarity and to emphasize the view of its image. In addition, its features can set cloudy photos and improve your low snappy pictures to an HD image up to 3000 x 3000 pixels. Explore the magic for sharper, refined images with Arthinker Online Image Upscaler. So, if you are ready, here are a few steps to try it!
Open the website. Click on the highlighted link to go to the Arkthinker Online Image Upscaler.
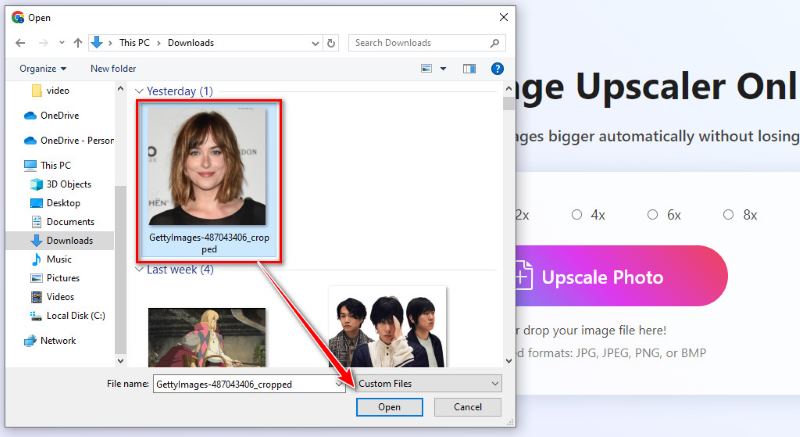
Upload your Photo. Click the Upscale photo button on the right. Choose the image you want to improve and click Open to upload the file.
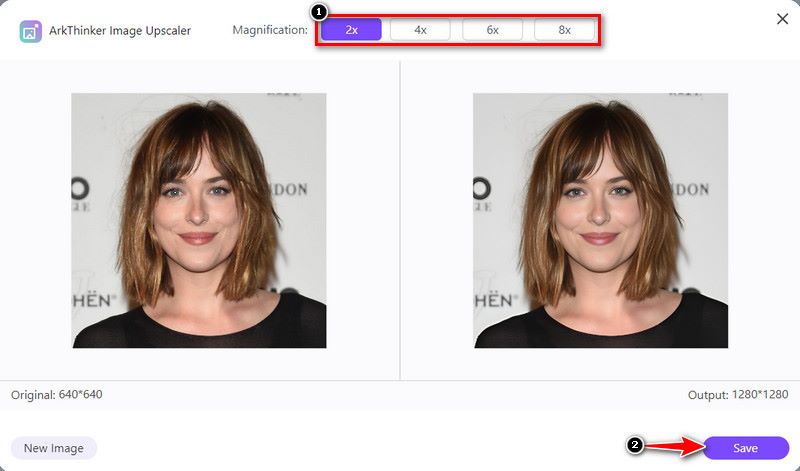
Initiate upscaling and save. Once the image is uploaded, the result will appear on the right side. You can adjust the Magnification above to check the picture details. If done, click the Save button below the corner. As simple as that, you may review your photo in the download history.
Option 2. Upscale.Media
Upscale. Media is an alternative tool for upscaling and increasing the image resolution through the use of artificial intelligence (AI). It shows how to improve image quality online, and it offers a hassle-free online tool that can change your low-quality JPG images into fantastic-quality images with just one click. The Upscale.Media can also enlarge your picture quality to 2x, 3x, and 4x. Good news! This online tool also offers mobile apps in Google Play and App Store. No need to worry because you can enhance your pictures without Photoshop! Check the steps below to witness the power of intelligence.
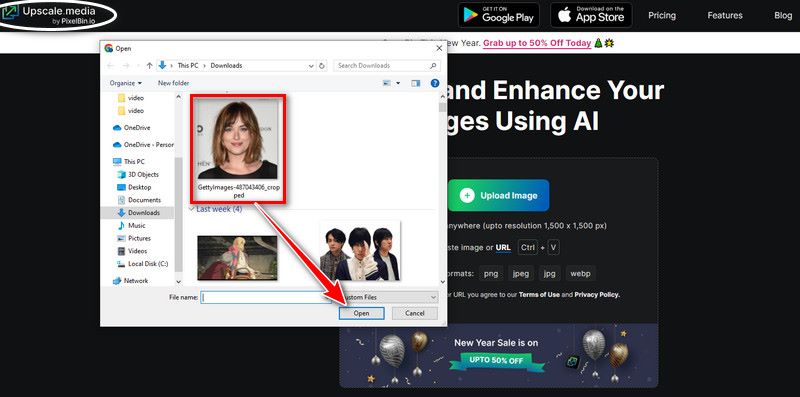
Go to the search engine and type Upscale. Media and upload the Image. Click the Upload Image button, then pick the photo you want to upscale. Click Open to upload the file.
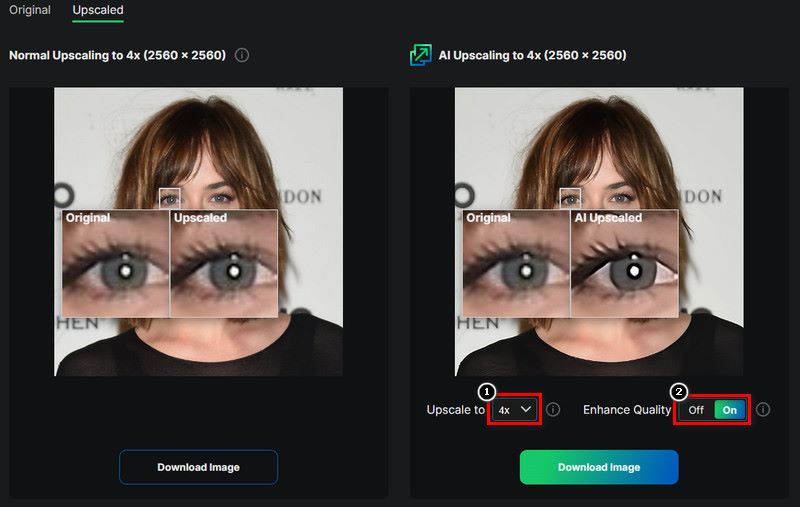
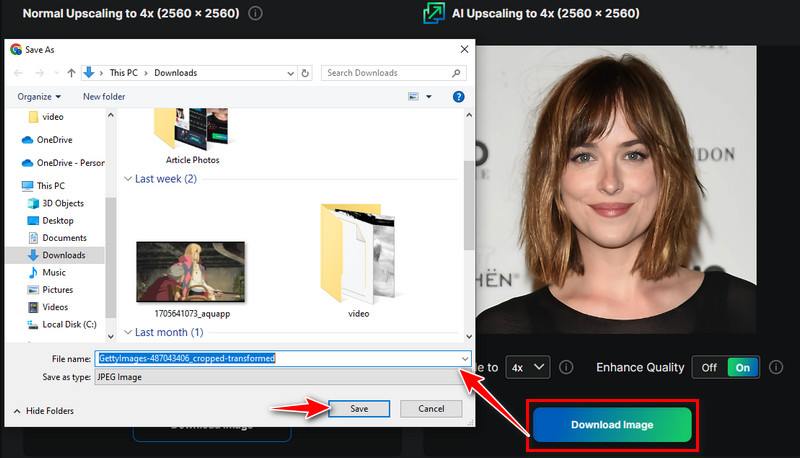
Upscale and Enhanced Quality. After you upload the file, the upscaled image will appear, and you can select the Upscale button to adjust it up to 4x. You can enhance the quality of a picture by turning it ON.
Download the Image. Just click the Download Image to upload your improved image directly to your phone or PC.
Option 3. GIMP
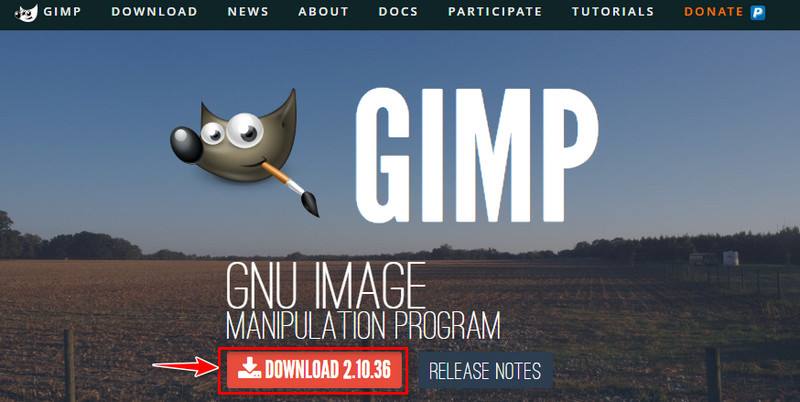
GIMP, or Gnu Image Manipulation Program, is a free software and accessible graphics editor that can alternate with Photoshop to improve image quality. Editing the picture, such as color correction, cutting and layering elements, and unpixelating an image, are the basic features of the software. Not only that, but it is also convenient to different multiple operating systems, including Windows, macOS, and Linux. So stop wasting your money just to improve the quality of your photos! If you are ready, let’s begin with these steps on how to improve image quality in GIMP.
Download and install GIMP from the search bar, then click the Download button.
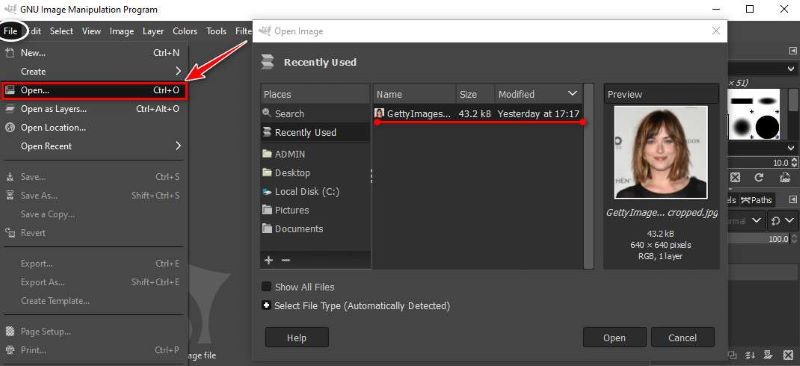
Open an Image. After launching the app, click the File menu to open an existing image in your folder, then familiarize yourself with those editing tools. You can choose your template and image size and click the OK button when you're done.
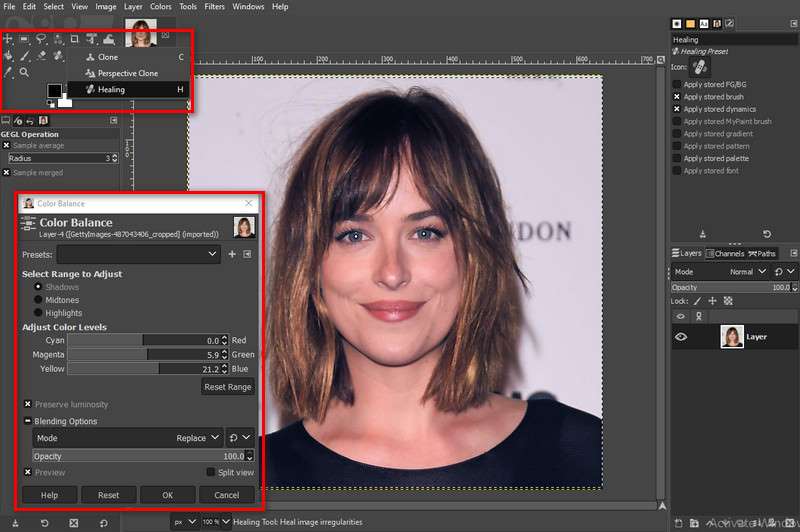
Explore the Tools. Just like Photoshop, familiarize yourself with the toolbox located in the upper left corner. You may use background color, eraser, and selection tools. Check your layers, as they are very helpful for editing images.
Save Your Work. When you finish your work, you can save your edited image in a common format, such as JPEG or PNG, in the File Menu. You can now share your pictures with everyone!

Part 3. FAQs about Improving Photo Quality
Can you suggest a procedure for resizing photos without losing quality?
For resizing photos without quality loss, use the Image Size option under the Image menu. Select Preserve Details when resizing, and review using Smart Objects for flexibility.
What’s the best way to create a selective focus effect in Photoshop?
Make Selective focus by using the Field Blur or Tilt-shift Filter. Put in the effect to certain areas, copying the depth of field found in professional photography.
How do I remove blemishes or imperfections from portraits in Photoshop?
Apply the Spot Healing Brush or Clone Stamp tool to remove blemishes. Just adjust the brush size and hardness for detailed and natural-looking corrections.
Conclusion
Photoshop includes adjustments and features on how to improve the quality of picture. We need to improve our skills and creativity while using the application as photographers do. We tackled other top apps to make your photo pleasing to the eyes to substitute Photoshop. Remember that practicing and experimenting is essential to making your picturesque image more lively, and it starts with you!
What do you think of this post? Click to rate this post.
Excellent
Rating: 4.9 / 5 (based on 374 votes)
Find More Solutions
Comprehensive Tutorial about Taking Screenshots on Windows Computer How to Unblur an Image in 4 Workable Ways [Online/Desktop] How to Enlarge an Image in Adobe Illustrator (3 Methods) How to Watermark Photos on iPhone: Methods with Apps and Tools How to Losslessly Upscale Image to 4K with AI (Online & Offline) 3 Ways to Remove CamScanner Watermark in Photo and PDFRelative Articles
- Edit Image
- How to Edit and Crop Animated GIFs with 4 Effective Ways
- 10 GIF Converters to Convert Between Images/Videos and GIFs
- Best GIF Editor Tools Suitable to Any Computers and Devices
- How to Make GIF from Images on Desktop and Mobile Phone
- Quick Steps on How to Add Text to a GIF Using Caption Maker Tools
- Add Music to GIF: Incorporate Music to Your GIF After Converting
- GIF Resizer: Ultimate Tools to Resize Your Animated GIF
- [6 Tools] How to Set a GIF Loop Change and Play It Forever
- GIF Cutter: How to Cut GIF with Easy and Fast Methods
- How to Remove Alamy Watermark from Images (100% Working)