


How to Remove Background in Photoshop in 3 Methods
Removing backgrounds in Photoshop is a fundamental skill for graphic designers, photographers, and anyone working with images. Whether you're creating a product showcase, designing a website, or enhancing portraits, mastering background removal can elevate the visual impact of your work. In this guide, we'll explore 3 methods to achieve this task efficiently.

- GUIDE LIST
- Part 1. Remove Background in Photoshop Using Lasso Tool
- Part 2. Remove Background in Photoshop Using Pen Tool
- Part 3. Remove Background in Photoshop Quick Selection Tool
- Part 4. The Best Tool to Remove Background in Photoshop
- Part 5. Fastest Photoshop Alternative to Remove Background
- Part 6. FAQs
Part 1. Remove Background in Photoshop Using Lasso Tool
The Lasso Tool offers a straightforward approach for removing backgrounds manually. Simply trace around the subject, creating a selection, and then delete the background. While effective for simple shapes, it can be time-consuming and imprecise for complex images.
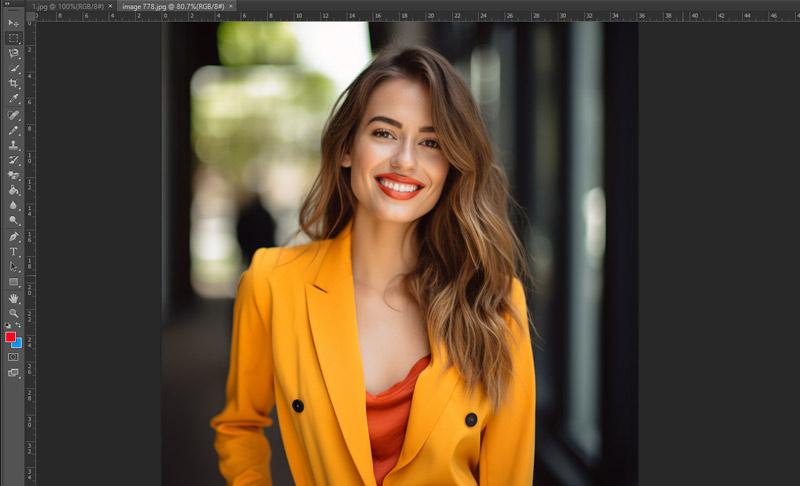
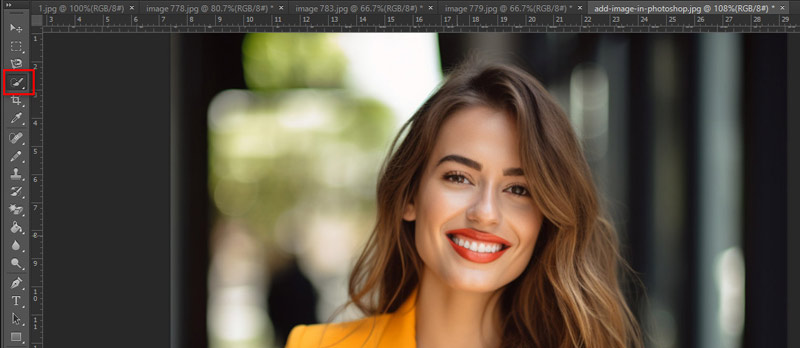
Launch Photoshop and import the image you want to work on. This could be a portrait, product photo, or any other image that needs its background removed.
Note: Before deleting the background, it's a good practice to duplicate the original image layer. This way, you can always go back to the original if needed and make non-destructive edits.
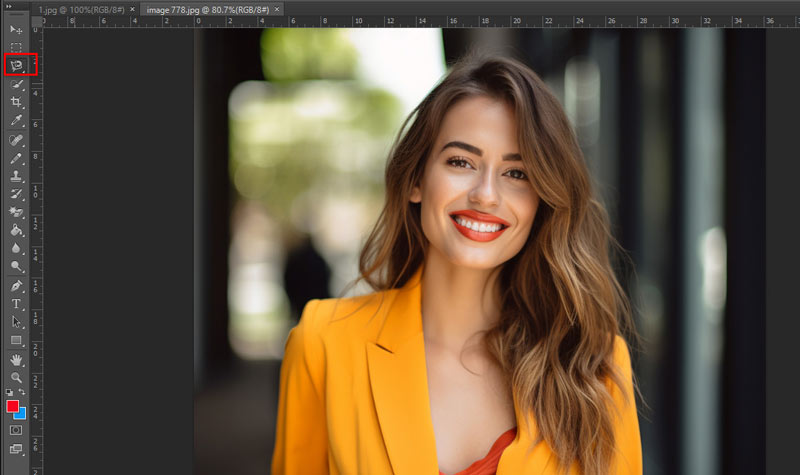
The Lasso Tool can be found in the toolbar on the left side of the Photoshop window. It looks like a lasso or rope loop. Click on it to select it. Alternatively, you can press the L key on your keyboard to select it quickly.
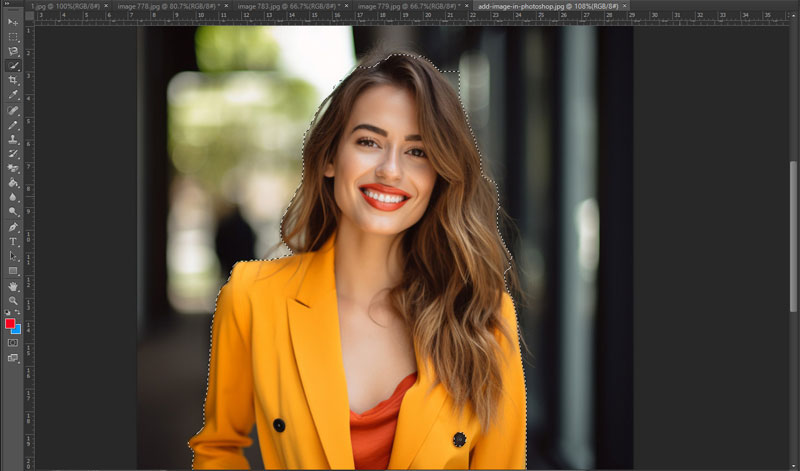
With the Lasso Tool selected, carefully trace around the object you want to keep in the image. This step requires precision, so take your time and zoom in if necessary to get a clean outline. I usually start from a point and make small, smooth movements to create the selection outline.
Note: Zooming in on your image allows you to make more accurate selections, especially around intricate details or areas with complex edges.
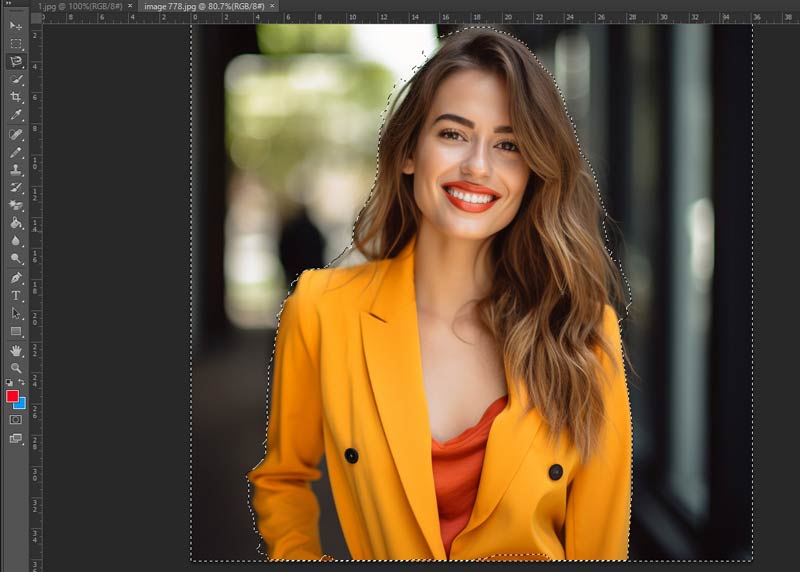
After tracing around the object, you may need to refine your selection to ensure you're only capturing the object and not any parts of the background. To do this, you can hold down the Alt key (Option key on Mac) to switch to the Polygonal Lasso Tool temporarily. Then, click along the edges of the object to add or subtract from the selection as needed. To get a precise and clear selection, this step is essential.
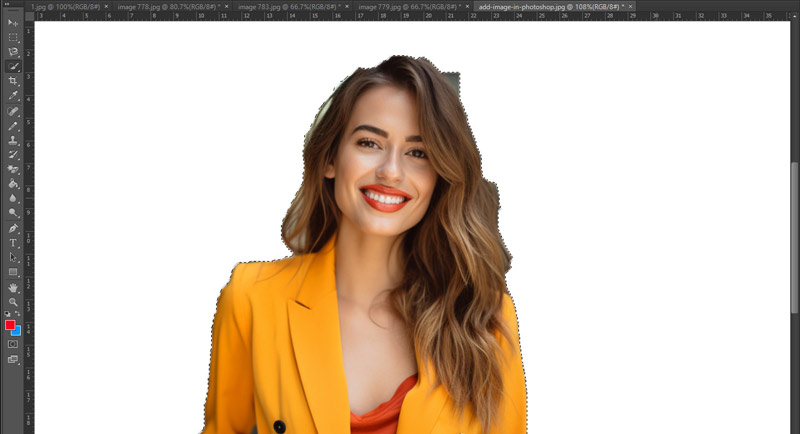
Once you're satisfied with your selection, it's time to remove the background. You can do this by pressing using the keyboard shortcut Delete or by selecting Edit > Clear.
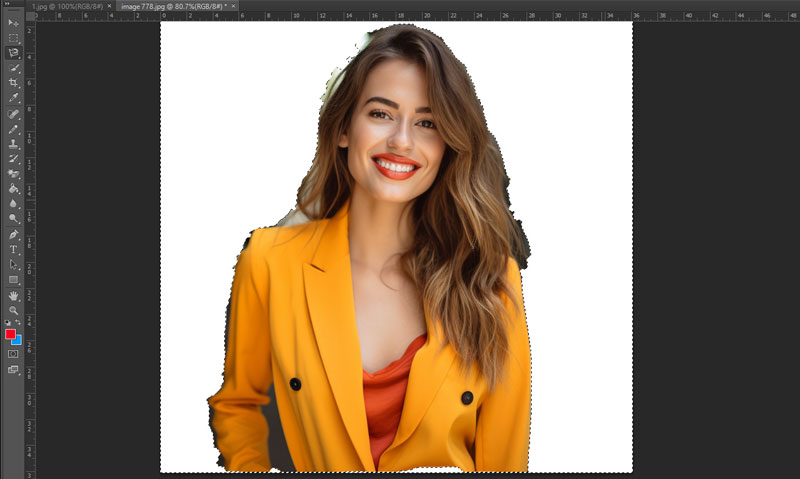
This action will delete the background within the selection, leaving only the object you want to keep. If you want to refine the edges further, you can use tools like Refine Edge or Layer Masking.
By taking these actions and applying these suggestions, you can effectively remove backgrounds in Photoshop using the Lasso Tool, achieving professional-looking results.
When you want to remove a watermark in an image file, this tool is also working. Learn from this post to remove the watermark in Photoshop.
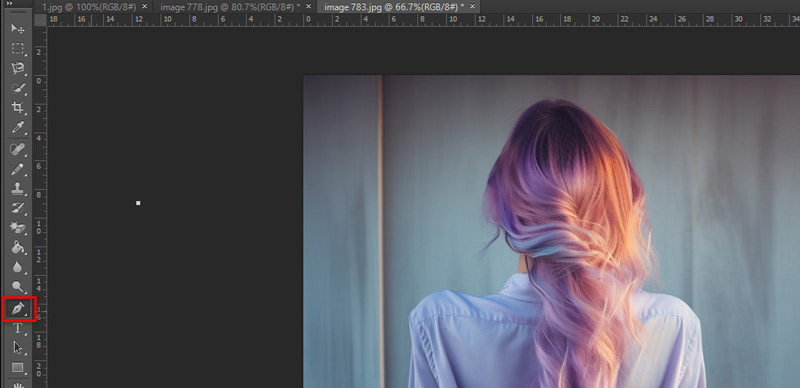
Part 2. Remove Background in Photoshop Using Pen Tool
The Pen Tool provides precision and control, making it ideal for intricate selections. By creating anchor points around the subject, you can achieve clean, accurate outlines. While it requires more effort, the results are professional-grade and suitable for detailed work like product photography or portraits.
Select the Pen Tool (shortcut P) from the toolbar after you open your image in Photoshop. Please make sure you're comfortable with using the Pen Tool, as it requires precision and practice. As you click around the object you want to keep, you'll create anchor points that will form a path.
Enlarge the picture for greater precision, and start clicking around the edges of the object you want to keep. Click and drag to create curves when needed. Take your time and make sure the path closely follows the contours of the object. It will take time and attention to detail to complete this phase.
Continue clicking around the object until you've created a closed path that outlines it entirely. To close the path, either click on the initial anchor point or hover over it and click. Ensure that the path doesn't include any parts of the background you want to remove.
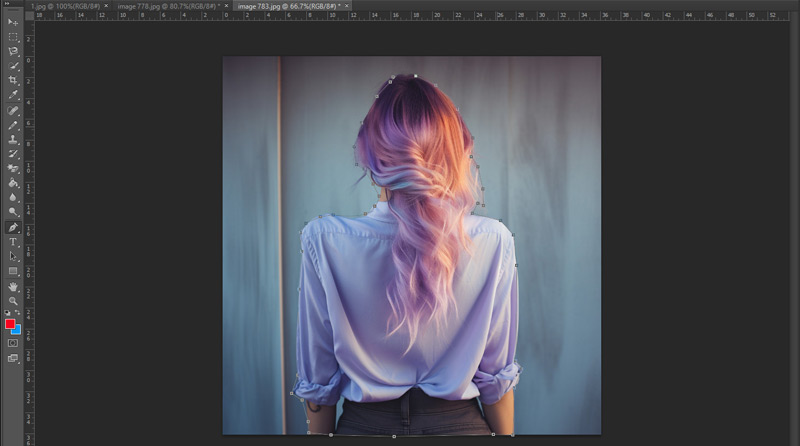
Once you've completed the path, right-click on it and select Make Selection from the menu. If necessary, a dialog box will show up where you can change the feather radius. For most cases, a feather radius of 0 pixels works fine. Click OK to convert the path to a selection.
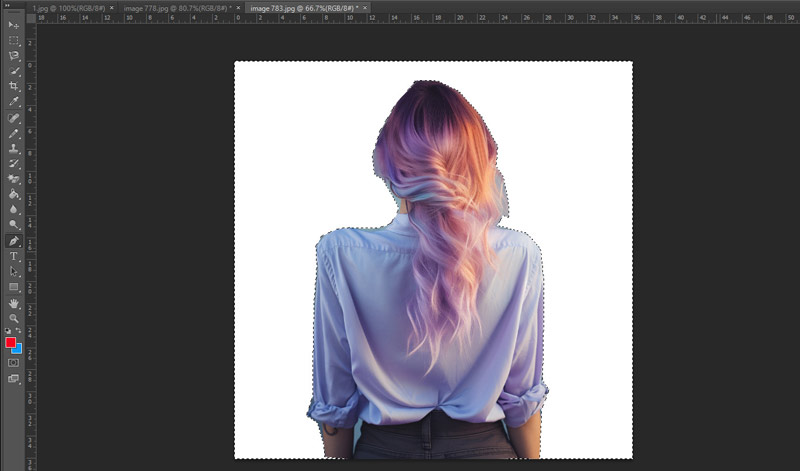
With the object selected, simply press the Delete key on your keyboard to make the selection's background disappear. You'll now have your object isolated on a transparent background. If you want to place the object on a different background, create a new layer or open the desired background image and drag the isolated object onto it.
The Pen Tool can be challenging to master at first, so don't get discouraged if your first attempts aren't perfect. Keep practicing, and you'll improve over time.
Part 3. Remove Background in Photoshop Quick Selection Tool
The Quick Selection Tool streamlines the process by automatically detecting and selecting similar pixels. With a few clicks and adjustments, you can isolate the subject from the background swiftly. This tool is ideal for images with clear distinctions between subject and background but may require refinement for complex scenes.
Load the image you want to edit in Photoshop.
In the toolbar on the left side of the screen, select the Quick Selection tool (Cmd/Ctrl + F). It looks like a paintbrush with a dotted outline.
Click and drag the Quick Selection tool over the part of the image you want to keep. The tool will recognize the edges of the object you are selecting on its own. If it selects too much or too little, adjust the brush size byusing the bracket keys ( [ and ] ) on your keyboard or use the Add to Selection (+) and Subtract from Selection (-) options in the toolbar.
Note: After making your selection, go to Select > Modify > Feather to soften the edges slightly. This can help your selection blend more seamlessly into its new background.
Alternatively, you can go to Select > Inverse to delete the object and instead select the backdrop.
After making your initial selection, refine it by zooming in on the edges of the object and using the Add to Selection and Subtract from Selection options to include or exclude specific areas. Please pay close attention to details like hair or intricate edges, as they may require more precision.
Once you're satisfied with your selection, use the Delete key to remove your keyboard's background.
If you have a Wacom tablet or are comfortable using the Pen tool, you can achieve even more precise selections, especially around intricate edges like hair or fur.
Part 4. The Best Tool to Remove Background in Photoshop
The above 3 methods work when you want to remove a background in Photoshop. Which one is the best? That depends on your needs as below:
◆ Lasso Tool: Best for quick, rough selections where precision isn't critical, suitable for simple shapes, or when speed is important.
◆ Pen Tool: Ideal for precise selections with complex shapes or objects that require clean, well-defined edges. It's especially useful for objects with curves or intricate details.
◆ Quick Selection Tool: Great for selecting areas with distinct edges quickly, but may need refinement for accuracy, making it suitable for situations where speed is a priority over precision, or when the background and foreground have a clear contrast.
Part 5. Fastest Photoshop Alternative to Remove Background
For those seeking an alternative to Photoshop, AI-powered tools like ArkThinker Background Remover Online offer rapid background removal with minimal effort by AI. By uploading the image, the tool automatically detects and removes the background, delivering impressive results in seconds.
Looking for a simpler and costing option? This web tool offers a free, one-click solution as an alternative to Photoshop for background removal in photos. Using advanced AI algorithms, it automatically detects and removes backgrounds, saving you time and effort. Compatible with Chrome, iOS, Android, Windows, Mac, and other web-enabled devices, this cutting-edge software caters to both professional and amateur photographers. Remove backgrounds from objects, pets, portraits, and more in seconds. Plus, it can instantly create transparent images and change backgrounds to solid colors or personalized designs.
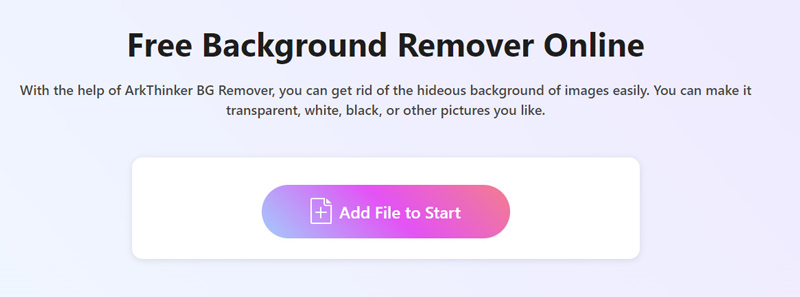
Access the free online image background remover using any browser on your device. Upload your desired photo by clicking the Add File to Start button.
Next, watch as AI technology automatically removes the background from your image. If the result isn't to your liking, no worries! Use the Keep or Erase option to adjust the background until you're satisfied.

Once your background-free image is ready, simply click the Download button to save the image without background to your device.
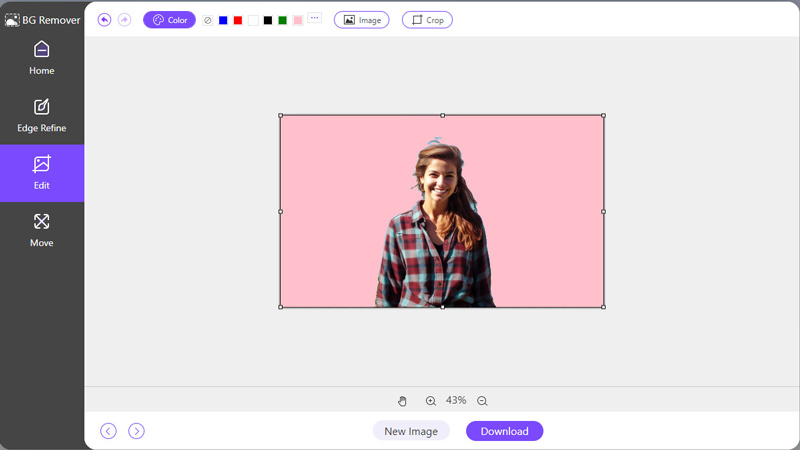
To further customize your image, head to the Edit tab. Here, you can upload a new background that looks similar or choose a solid color like Photoshop filling in the color.
This free tool is easier than Photoshop. What is more important is that it is totally free to use without spending a large amount of money like Photoshop.
Part 6. FAQs
Can I refine selections after using the Quick Selection Tool?
Yes, you can use tools like Refine Edge or Layer Masks to fine-tune selections and achieve smoother transitions.
How do I handle complex backgrounds?
For challenging backgrounds, a combination of tools and manual refinement may be necessary to achieve optimal results.
Does Photoshop have automatic background remover?
Yes, Photoshop does have an automatic background removal feature called Remove Background. This feature uses Adobe Sensei, Adobe's artificial intelligence technology, to automatically detect the subject in an image and remove its background.
Conclusion
Getting background removal in Photoshop is essential for creating visually compelling images. Whether you prefer the precision of the Pen Tool or the speed of automated selection, understanding these techniques empowers you to unleash your creativity and elevate your design projects. Experiment with different tools and find the approach that best suits your needs and preferences. With practice, you'll become proficient in seamlessly removing backgrounds and unlocking endless creative possibilities.
Find More Solutions
2 Ways to Use GIMP to Remove Image Background How to Remove Background from Image on iPhone [2024] How to Change Photo Background on iPhone Easily How to Make Photo Background Transparent in Paint How to Remove Image Background in Canva on Mobile and Desktop 3 Easy Methods to Remove Image Background with LunaPicRelative Articles
- Edit Image
- Effective Options to Resize Picture for Twitter- 3 Online Tools
- How to Remove Watermark from Placeit Images and Videos
- How to Make Photo HD on Different Devices and Remove Artifacts
- Updated and Unbiased Review of WatermarkRemover.io
- 3 Easy Ways to Remove Image and Text Watermarks from PDF
- Remove Watermark from GIF: Effortless Methods to Edit GIF
- Save TikTok Photos Without Watermark in 2 Hassle-Free Ways
- What Is Pixlr & How to Remove Watermark from Photo
- [2024] Inpaint Review & How to Use It to Remove Watermark
- How to Remove Alamy Watermark from Images (100% Working)