


![]() 人気の記事
人気の記事
![]() トピック
トピック

Successful Installation!

Step 1. Select a screen size
You can set full or a custom screen scaling, like 1920*1080, 854*480, 640*480, etc. With a cursor, you can select a recording area more convenient.
Step 2. Select the audio
Turn on or off the システムサウンド option, マイクロフォン option. If you want to record all the voices, you can turn on two options at the same time.
Step 3. Start recording
Start the screen recording by clicking the 録音 button. Then you can edit the video with the basic functions. Finally, you can preview the recorded video by clicking the 停止 button or save the recording by clicking the 保存 ボタン。
完全なガイドはこちらから入手してください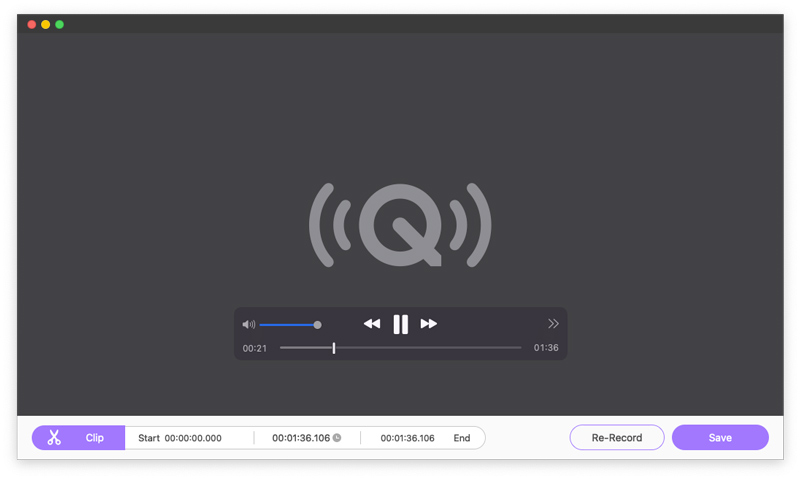
Step 1. Set the recording audio
Turn on or off the マイクロフォン そして システムサウンド to record your speaking voices or computer voices. You can adjust it according to your favorites.
Step 2. Start the audio recording
クリック 録音 button to begin your audio recording. Then you can click the 停止 ボタンを押して、録音された音声を聞くことができます。
Step 3. End the audio recording
If you want to edit the recorded audio, you can click the アドバンストリマー button to adjust it. After the editing, remember to save the recording audio.
完全なガイドはこちらから入手してください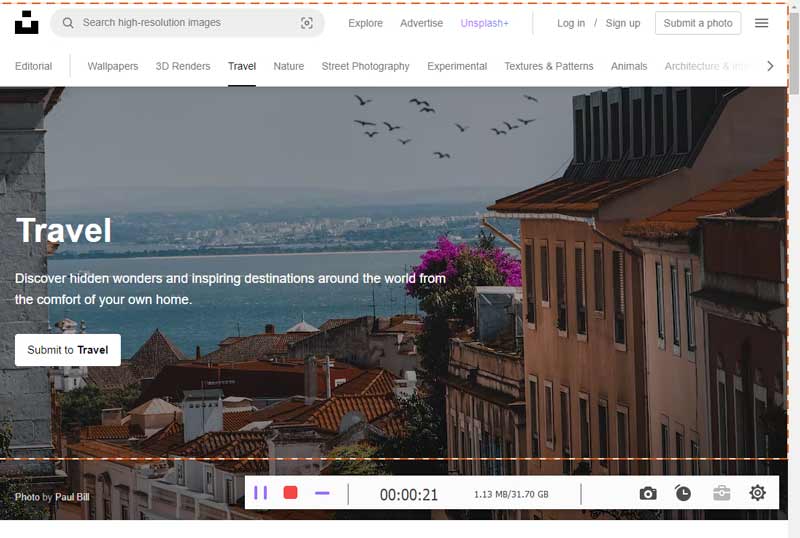
Step 1. Select the recording window
On the left panel, you can choose a 窓 または プロセス you want to record. Then, customize the recording area of the selected window by dragging the border in the preview area.
Step 2. Set the webcam and audio options
There are 3 options for you to record your window screen. Turn on or off the ウェブカメラ, システムサウンド そして マイクロフォン, you can adjust it as you like.
Step 3. Start the window recording
クリック 録音 button and then you set recording time and ways. In the recording process, you can draw or input text by clicking 編集 icon. Finally, click on the 停止 button to end and save you videos.
完全なガイドはこちらから入手してください![]() 人気の記事
人気の記事
![]() トピック
トピック