


Find Out About the Various OBS Recording Settings
Do you want a screen recorder without a built-in time limit to record, with numerous features, and can access without internet use? This post has an answer to that.
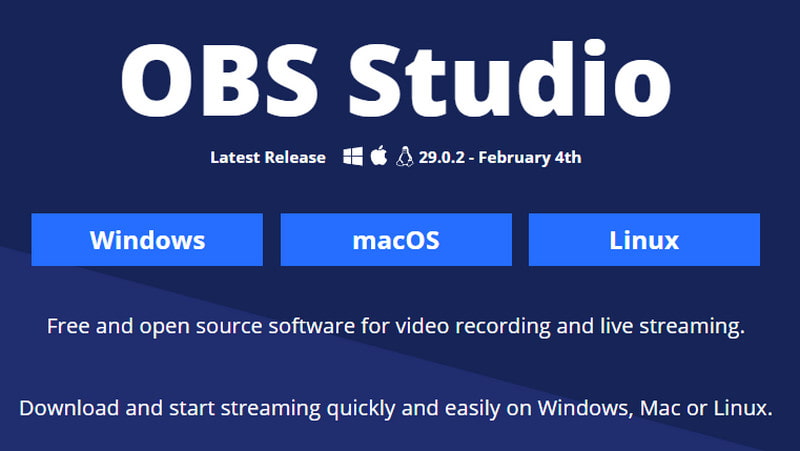
Open Broadcaster Software (OBS) is a free, open-source offline video recording and streaming program. It is one of the most popular programs for recording screen activities and picking up audio from their computer. In addition, it offers a broad scope of customizing options. This program is entirely free to download and compatible with different operating systems. To know more about the OBS recorder, read the following parts of this post, which will lay out thorough information about the program.

- GUIDE LIST
- Part 1. OBS Screen Recorder Review
- Part 2. Best OBS Screen Recorder Alternatives
- Part 3. FAQs about OBS Screen Recorder
Part 1. OBS Screen Recorder Review
Open Broadcaster Software (OBS) is a popular recording program and live streaming that is compatible with Linux, Mac, and Windows. This program supports numerous file formats that you can choose from. It is popular with many video streamers, as it is capable of capturing and recording multiple scenes at the same time. This program lets you record your video and connect to any live streaming or video conferencing platform. It works as a functional live-stream broadcasting program without recording time limitations. Therewithal, it is capable of exporting high-definition videos.
Features:
◆ Real-time audio and video capturing and mixing
◆ Multiple themes
◆ Intuitive audio mixer
◆ Advanced configuration options
◆ Streamlines settings panel
◆ Multiples video sources
- It is a free and open-source program
- It has a low Central Processing Unit (CPU) usage
- It produces high-definition (HD) output
- It supports plenty of platforms
- It supports numerous video formats
- It does not have a recording time-limit
- It has a low Central Processing Unit (CPU) usage
- It has unintuitive user-interface
- It does not support audio files as sources
- It is not compatible with the older versions of Windows
In this part, we will export more about the Settings category so that you will have prior knowledge about the best OBS settings for recording purposes.
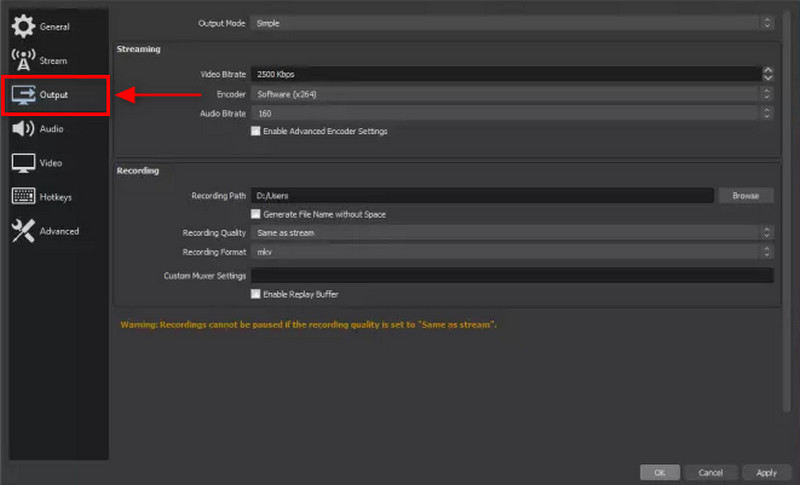
◆ The General tab has the applied options such as Language, Theme, and Output settings. It is a must to explore this setting to input your preference and help you with the recording video process. In addition, the Output Settings enables you to customize the encoding and format settings.
◆ You should select the NVENC H.264 settings when creating a video because it produces the highest quality videos. However, this setting asks you to have an NVIDIA graphics card on your desktop. If you do not have that in your system, it is better to choose x264 as the default recorder.
◆ The Rate Control settings produce quality video clips, do not stress your motherboard, and allow you to control the bitrate.
◆ The Video Vibrate allows you to increase your file size. On the other hand, Audio Bitrate allows you to produce a better sound.
◆ The Video Settings and Audio Settings enable you to change your recording process and output based on your preference.
To enable OBS screen recording, proceed to the guide provided to start the process.
First and foremost, download and install the program to your desktop for complete access. After the installation process, open the program, and it should auto-add a Scene to the interface.
Proceed to the Scene box and then the Sources box. Click the (+) icon on the bottom left part, and the applied options will appear on your screen. From the applied list, select the Display Capture, and a dialogue box will appear. Enter your title, and click OK once done.

After that, another window will appear consisting of options, where you will choose the display and capture method. Also, check-box where you will include or not the cursor while you are recording. Next, proceed to the Settings tab on the lower right part of your screen, and click the Output icon. From the Recording box, click Browse and choose your preferred file destination under Recording Path.
Once done, hit the Start Recording button on the OBS Studio record screen on the lower right part of your screen.
OBS is a powerful multi-functional recorder for audio and video, but it requires a lot of time to understand how it works. You must exert time and effort to learn if you are a beginner. Above all, OBS is an excellent program for advanced users. It will offer you a professional level of screen recording output.
Part 2. Best OBS Screen Recorder Alternatives
1. ArkThinker Screen Recorder
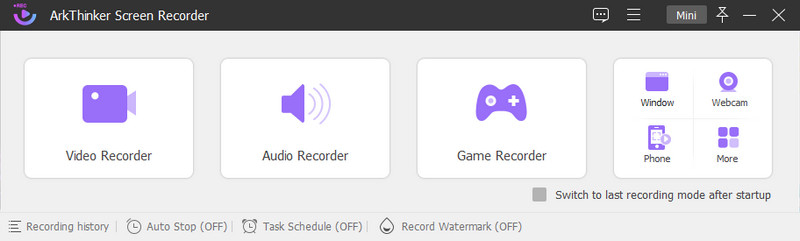
If you are looking for a recording tool that can record video, audio, phone, and many more, count on ArkThinker Screen Recorder. If we are talking about compatibility, this recording tool is compatible both on Mac and Windows. This program has a beginner-user interface and will not confuse you when you use it despite having plenty of built-in features. This recording tool is capable of recording your screen activities, as well as your audio. In addition, it has a trimming option, where you can cut off the unnecessary parts of your recorded video you do not need. Once you are done recording your screen, your recorded output will be placed on the recording history. ArkThinker Screen Recorder is one of the best screen recorders you can count on. If you use this recording tool, you can record your screen with ease and hassle-free.
- It has a straightforward interface
- It has plenty of built-in recorders
- It has a trimming option
- It does not leave a watermark
- It is accessible offline
- Avail of the paid version to have complete access to the program
2. Screencast-O-Matic
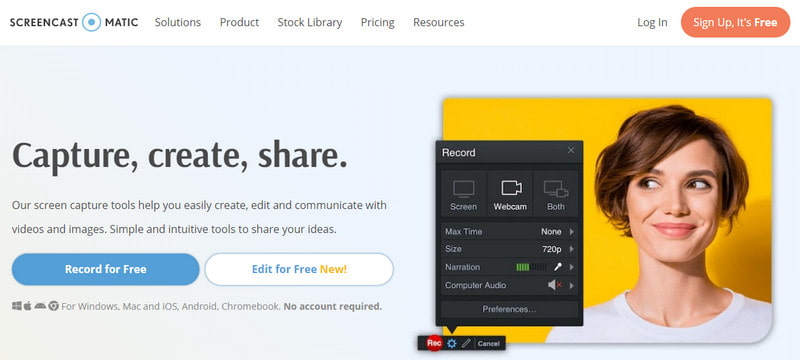
If you prefer to use a screen recorder that you can access online, you can rely on Screencast-O-Matic. The fact that it is an online tool will not require you to download or install anything on your computer. It is a free online screen recorder that allows both webcams and screen recordings. It allows you to record directly online and upload it to any social media platform it supports. In addition, it allows you to edit your recorded video by adding text, shapes, and images.
- It has a simple and intuitive interface
- It allows you to overlays texts, shapes, and images
- It allows you to share your recorded video on any social media channel
- Fast internet is needed
- It leaves a watermark on your output
- Subscribe to the paid version to use the other features
Find More Solutions
3 Ways to Add Text to Video Using Online and Offline Tools Easiest Ways to Shorten a Video on Different DevicesPart 3. FAQs about OBS Screen Recorder
Can OBS record for 3 hours?
OBS does not have a time limit for recordings, but the longer the recordings, the more storage space it needs.
How big is a 1 hour recording OBS?
For instance, your recorded video is 1 hour, equivalent to 3 600 seconds long. In that case, the recorded video is 6.250.000 bytes per second.
Does OBS hurt performance?
OBS consumes a lot of Central Processing Unit (CPU) resources when it is running. But it can lower the frame rate and resolution on the program’s settings.
Does OBS need a camera?
The latest version of the program as it has a built-in virtual camera feature. You do not need to worry about installing a camera plugin to use the program.
Conclusion
It cannot deny that OBS Recording Software is an excellent recording tool that can record high-quality screen recordings. In addition, it has numerous built-in features that the users use to unleash their creativity. On the other hand, if you want to use other recording tools, you can rely on the mentioned tools above and choose based on your preference.
What do you think of this post? Click to rate this post.
Excellent
Rating: 4.9 / 5 (based on 302 votes)
Relative Articles
- Edit Video
- Guidelines on How to Trim a Video on Facebook Effectively
- How to Zoom in on a Video with Most Helpful Methods
- Top 7 Video Cropper that Excellently Crop and Resize a Video
- Top-Notch Video Trimmer Available on Windows, Mac, Android, and iOS
- How to Create an Instagram Filter Using Excellent Tools
- Easy Guidelines on How to Trim a Video on Snapchat
- Easiest Ways to Shorten a Video on Different Devices
- 3 Ways to Add Text to Video Using Online and Offline Tools
- Methods to Add Watermark to GIF and Remove Watermark on GIF
- How to Create an Instagram Filter Using Excellent Tools