


Adobe Captivate Review and Differences Between Adobe Captivate and Adobe Presenter
Online training programme and education are now becoming a new way of teaching. Teachers and learners can teach and learn better by interacting and learning online. So, it is important to have a good screen recording and editing tool.
Adobe Captivate is a free screen recording and e-learning tool. It has various scenarios and uses, such as corporate training, education, and others. It offers many functions and tools. So you can record, edit, and share high-quality screen recordings. It can also create interactive, high-quality online training courses and educational content. And it provides an excellent user experience.
Let’s read the Adobe Captivate review. Then, you will know and master Adobe Captivate.

- GUIDE LIST
- Part 1. What is Adobe Captivate?
- Part 2. Adobe Captivate Tutorials
- Part 3. Adobe Captivate and Adobe Presenter
- Part 4. ArkThinker Screen Recorder - Adobe Captivate's Alternative
- Part 5. FAQs of Adobe Captivate
Part 1. What is Adobe Captivate?
Key Functions and Usages of Adobe Captivate
Adobe Captivate has an intuitive user interface. It provides clear toolbars, setting options, and preview functions. So you can use them to adjust and change recording settings fast. There are seven key functions of Adobe Captivate. These functions will help us to know and master Adobe Captivate well.
Multi-functional recording options
Adobe Captivate offers many recording options. These include full-screen, application-specific windows, and custom region recording. They allow you to choose a suitable recording method.
Stable Recording
Adobe Captivate provides stable screen recording. It adapts to new text and media for different screen sizes. It captures mouse clicks, keyboard input, and other interactions. Thus, it makes the recorded content easy to understand.
Powerful Customization
Adobe Captivate allows you to make some customized settings. It can adjust the quality settings for both audio and video. It provides annotations, mouse click effects, and others to enhance recording.
Interactive Functions
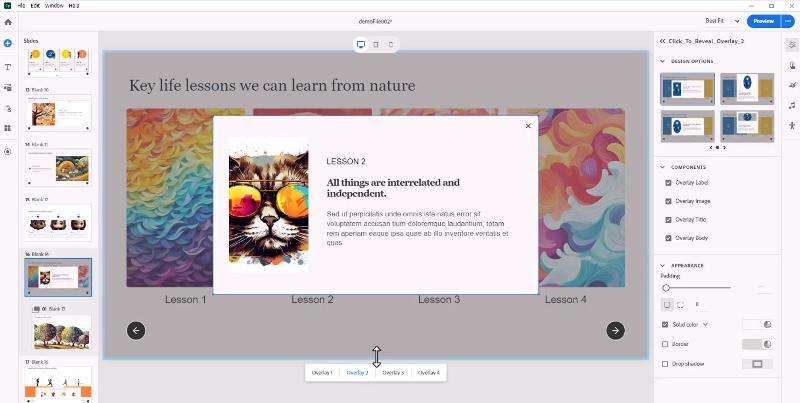
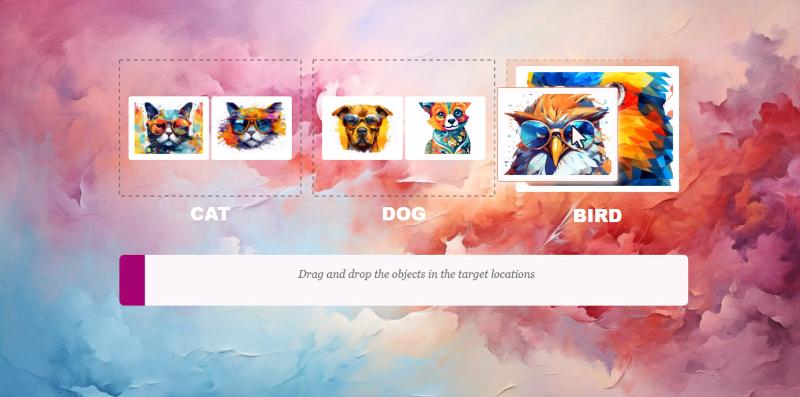
Adobe Captivate offers many interactive functions to enhance engagement and interaction. You can use engaging simulations such as adding interactive elements, hints, and feedback. You can also create interactive learning and videos. Then, streamline your courses into step-by-step learning parts.
System Resource Consumption
Adobe Captivate maintains a small file size and low system resource usage. It makes Adobe Captivate Screen Recording an excellent performance.
Editing and Sharing
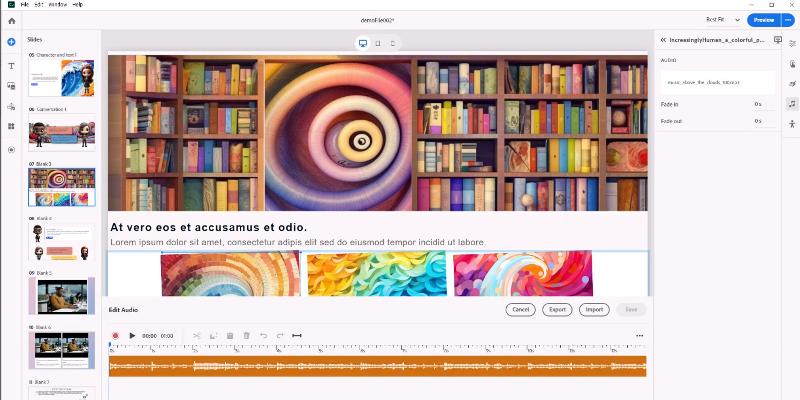
Adobe Captivate has built-in editing tools. You can cut, trim, and add transitions to the recorded content. And you can export the recorded content after finishing editing. There are MP4, AVI, and Flash video formats. You can convert suitable formats to play and share on the platform.
Part 2. Adobe Captivate Tutorials
Many people want to download and learn Adobe Captivate fast. Yet, it depends on personal experience and methods in using e-learning software. If you have them, you can learn Adobe Captivate fast. Otherwise, it will take a long time. Don’t worry, and there are some steps and methods for you to find and use it.
Download and install
You can download Adobe Captivate from the official website. Then, follow the installation instructions.
Open the Adobe Captivate
After the installation is complete, open and launch Adobe Captivate. Then, you can create a new project or open an existing project.
Set up Recording Options
In the main interface of Adobe Captivate, select Recording and then Software Emulation. You can make settings in the Recording Settings dialogue box. For example, set the recording area, resolution, frame rate, audio options, and others.
Set up Recording Modes
Apart from setting up recording options, in the Recording Settings dialogue box, you can select different recording modes. They are demonstration, evaluation, or explanation.
Start Recording
Click the Record button in Adobe Captivate to start recording. You can operate, show, and explain on the screen by using the mouse and keyboard. Besides, Adobe Captivate provides text, arrows, highlights, and other annotation tools.
Stop and Save Recording
Click the Stop button in Adobe Captivate to end the recording. You can save the recorded video to a selected location. You also can use this software to record a webinar.
Edit and Export
You can edit your recording video in Adobe Captivate. Open Adobe Captivate and select the video file. Then click the Open button on the interface. There are some options and modes in the editing interface. For example, add notes, adjust audio, and so on.
Sharing Adobe Captivate Projects
There are many methods for you to share Adobe Captivate projects. For example, file-sharing services, screen-sharing tools, removable storage devices, and other methods. These provide link access and USB, so you can open and download projects by using them.
Part 3. Adobe Captivate and Adobe Presenter Adobe Presenter Brief Introduction
Adobe Presenter is a powerful e-learning content tool. It transforms slides into interactive e-Learning courses. It offers plenty of features and tools. Using Adobe Presenter can meet the needs of education and training.
Differences Between Adobe Captivate and Adobe Presenter
There are three differences between Adobe Captivate and Adobe Presenter. You can choose the suitable tool according to your needs.
Interactivity and Sophistication
Adobe Captivate creates interactive e-learning courses and simulation presentations. It offers many interactive and customization options. Thus, it is more powerful in creating interactive learning experiences.
Adobe Presenter has less interactivity and complexity. It integrates with Microsoft PowerPoint. It focuses on slide presentations and lecture recordings. So, it is suitable for you to create slide-based lectures and training content.
Output Formats
Adobe Captivate has many output content formats. You can use them to edit and play screen recordings on devices.
While Adobe Presenter is in Flash and PDF formats. They are suitable for slide presentations and online sharing.
Customization Capabilities
Adobe Captivate offers customization options. You can customize the surface of the course, interactive elements, quizzes, and more. It also offers a higher degree of flexibility and customization.
Adobe Presenter has lower customization capabilities. It focuses on recording and editing slide content.
Is Adobe Captivate Better than Adobe Presenter?
Which one is better according to different demands? If you need to create complex interactive learning courses and simulated presentations. Adobe Captivate is a better choice. If you need lectures and presentations on slides. And you want to integrate with existing PowerPoint documents. Then Adobe Presenter may be a better fit for you.
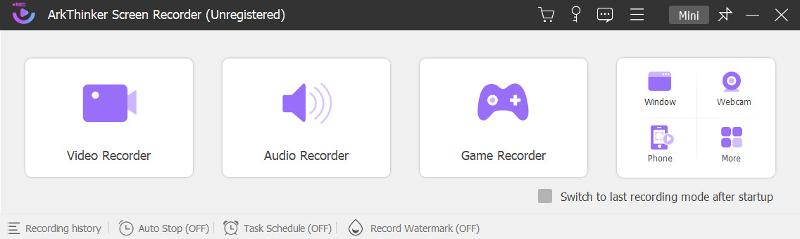
Part 4. Adobe Captivate Alternative - ArkThinker Screen Recorder
ArkThinker Screen Recorder is a free and simple software. You don’t need to spend too much time learning tutorials. You can record entertainment, e-learning, and other themes on screen or video. It records high-quality sound. When you use it to record video, there is no delay. You can also capture iPhone and Android screens by using it.
Besides, it has various helpful functions and tools. For example, compress recording files, convert formats, task schedules, add watermarks, and others. After finishing editing screen videos, you can upload and share them on the platform. In a word, it is a convenient and powerful screen recorder.
FAQs about Adobe Captivate
How long does it take to learn Captivate Adobe?
It depends on personal experience and methods of using e-learning software. If you have them, you can learn Adobe Captivate fast. Otherwise, it will take a long time to learn it.
How to share Adobe Captivate projects?
You can use file-sharing services, screen-sharing tools, removable storage devices, and other ways. These methods provide link access and USB. So you can open and download projects by using them.
Is Adobe Captivate better than Adobe Presenter?
Yes. Adobe Captivate is different from Adobe Presenter in several parts. They are interactivity and sophistication, output formats, and customization capabilities. According to these, we’ll know that Adobe Captivate is better than Adobe Presenter.
Conclusion
Though Adobe Captivate is a free screen recorder and e-learning software, ArkThinker Screen has more advanced features and customization options. It can capture and record high-quality screen and video with audio on a computer. You can record, edit, and share video recordings fast and with no delay. And it is very easy and simple for you to use without training. Why not download and use ArkThinker Screen now? Come on!
What do you think of this post? Click to rate this post.
Excellent
Rating: 4.9 / 5 (based on 522 votes)
Find More Solutions
Top 14 Audio Recording Software and Hardware You Should Not Miss Best Screen Recorders for Windows, Mac, iPhone, and Android Detailed Guide to Record Screen or Videos on Mac Computers How to Screen Record with Audio on Windows 11/10/8/7 PC How to Use Adobe Screen Recorder to Record Your Contents How to Record a PowerPoint Presentation with AudioRelative Articles
- Record Video
- The Details of Review Vidma Recorder on Android Phones
- An IObit Screen Recorder Review of Its Details and Features
- Quick Video Recorder for Android – Ultimate Review
- Detailed Reviews of ScreenFlow for Mac and Windows PC
- ScreenRec Review: Free and Creative Tool for Everyone
- Top 6 Firefox Screen Recorders to Capture Webpages on Windows/Mac
- V Recorder Review – Your Go-to Screen Recording Tool in 2023
- RecMaster in 2023: A Comprehensive Review of Features and Pricing
- CyberLink Screen Recorder Review: A Good Choice for Streamer
- Unbiased Review of iSpring One of the Best eLearning Toolkits